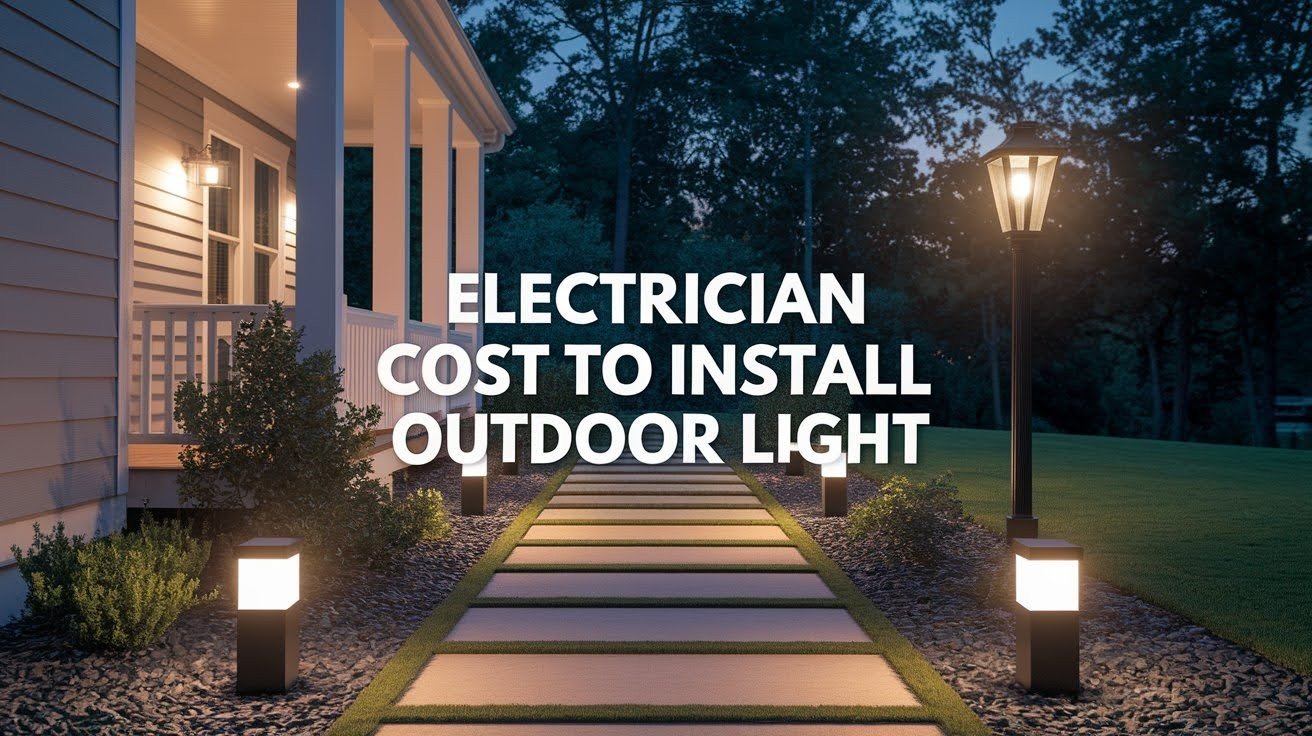
Have you ever stepped outside your door onto your deck at night and asked, How? Dark decking is treacherous and unpleasant adjacent to paths or on steps.
Good deck lighting. It keeps your family both safe and secure within, it provides a cozy spot just for evening hangouts on the deck, and it makes your outdoor living space functional well after the sun dips below the horizon.
But here is the best part. You can! Don’t call an electrician because, with this guide, you’ll end up with a safe, inviting, and all your own, walking you step by step, from planning your layout to turning on the lights.
Step-by-Step Deck Lighting Installation
Follow these steps in order, and you’ll have professional-looking results. Each phase builds on the last, so don’t skip ahead.
Plan Your Lighting Layout
Start by walking your deck at night with a flashlight. Notice which areas feel unsafe or too dark.
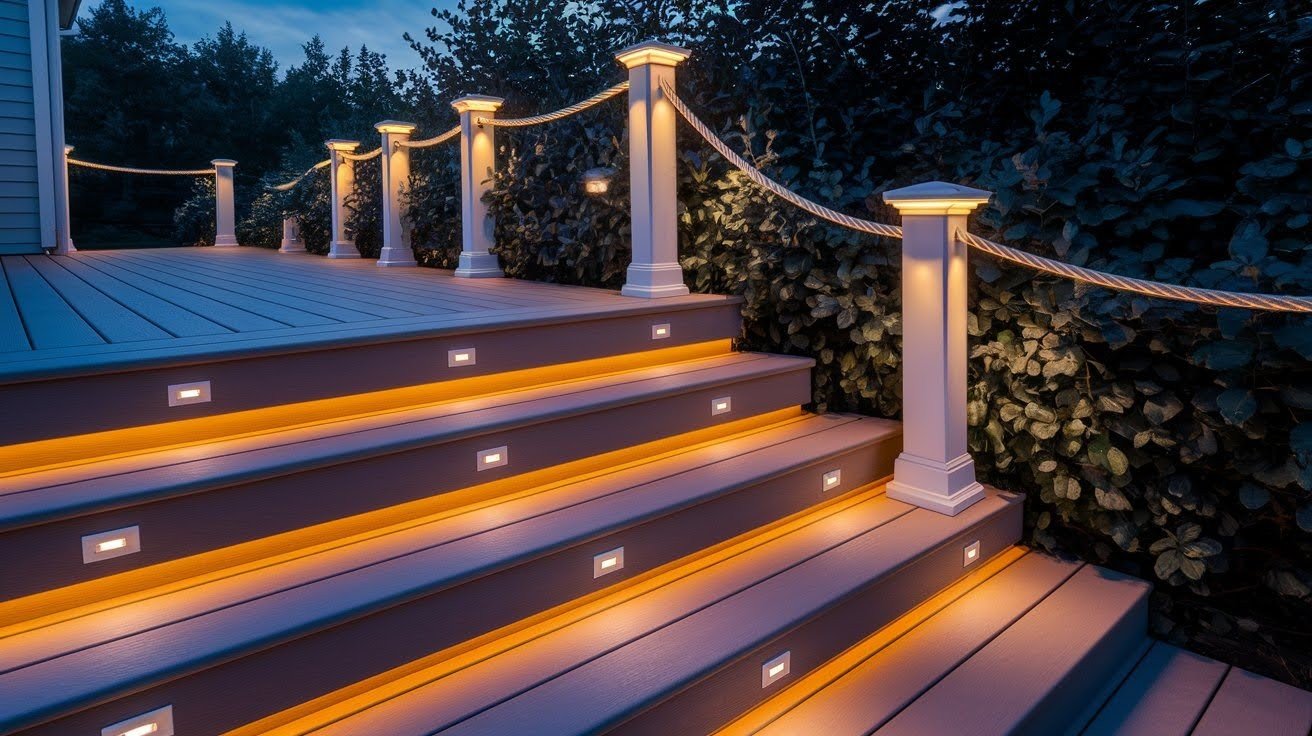
Focus on three key zones: stairs (where people trip most), railings (to define boundaries), and seating areas (for comfort). Mark these spots with tape or chalk during daylight.
Next, sketch a simple map. Show where each light will go and where your nearest outlet is. This plan saves you time and prevents mistakes later.
Choose the Right Type of Deck Lights
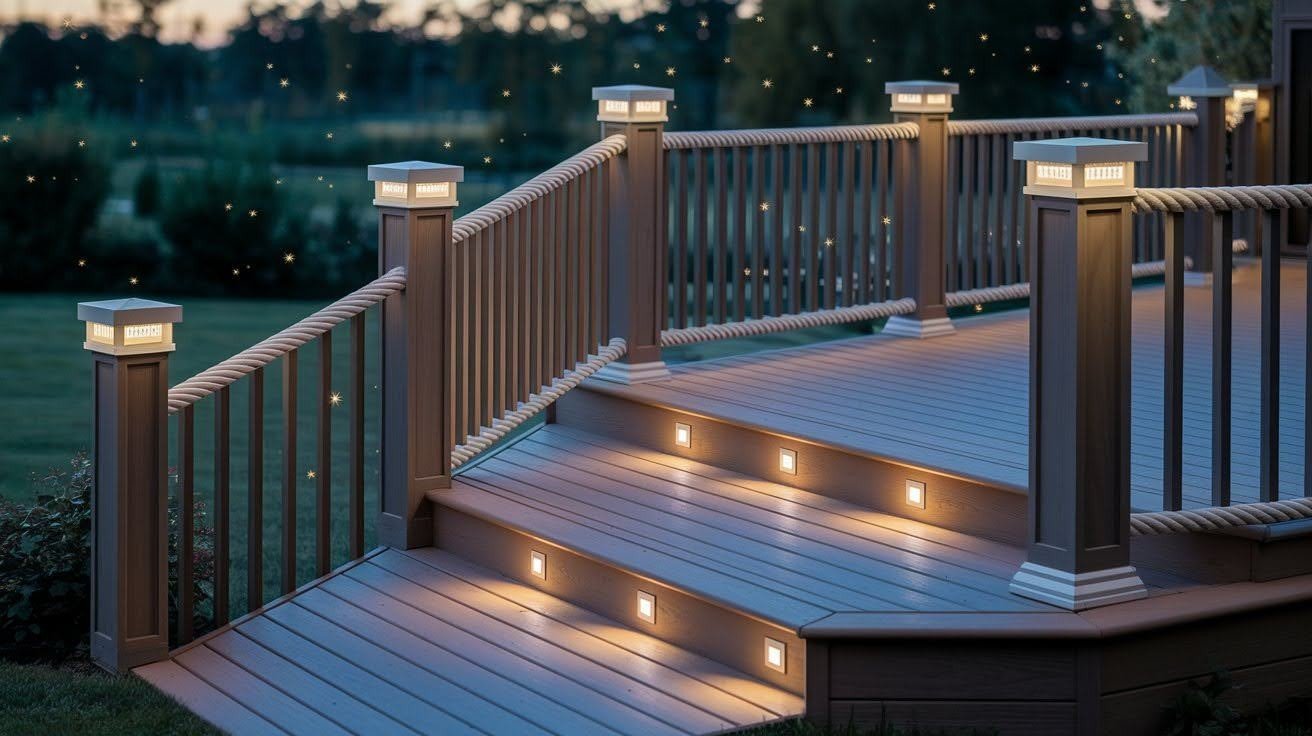
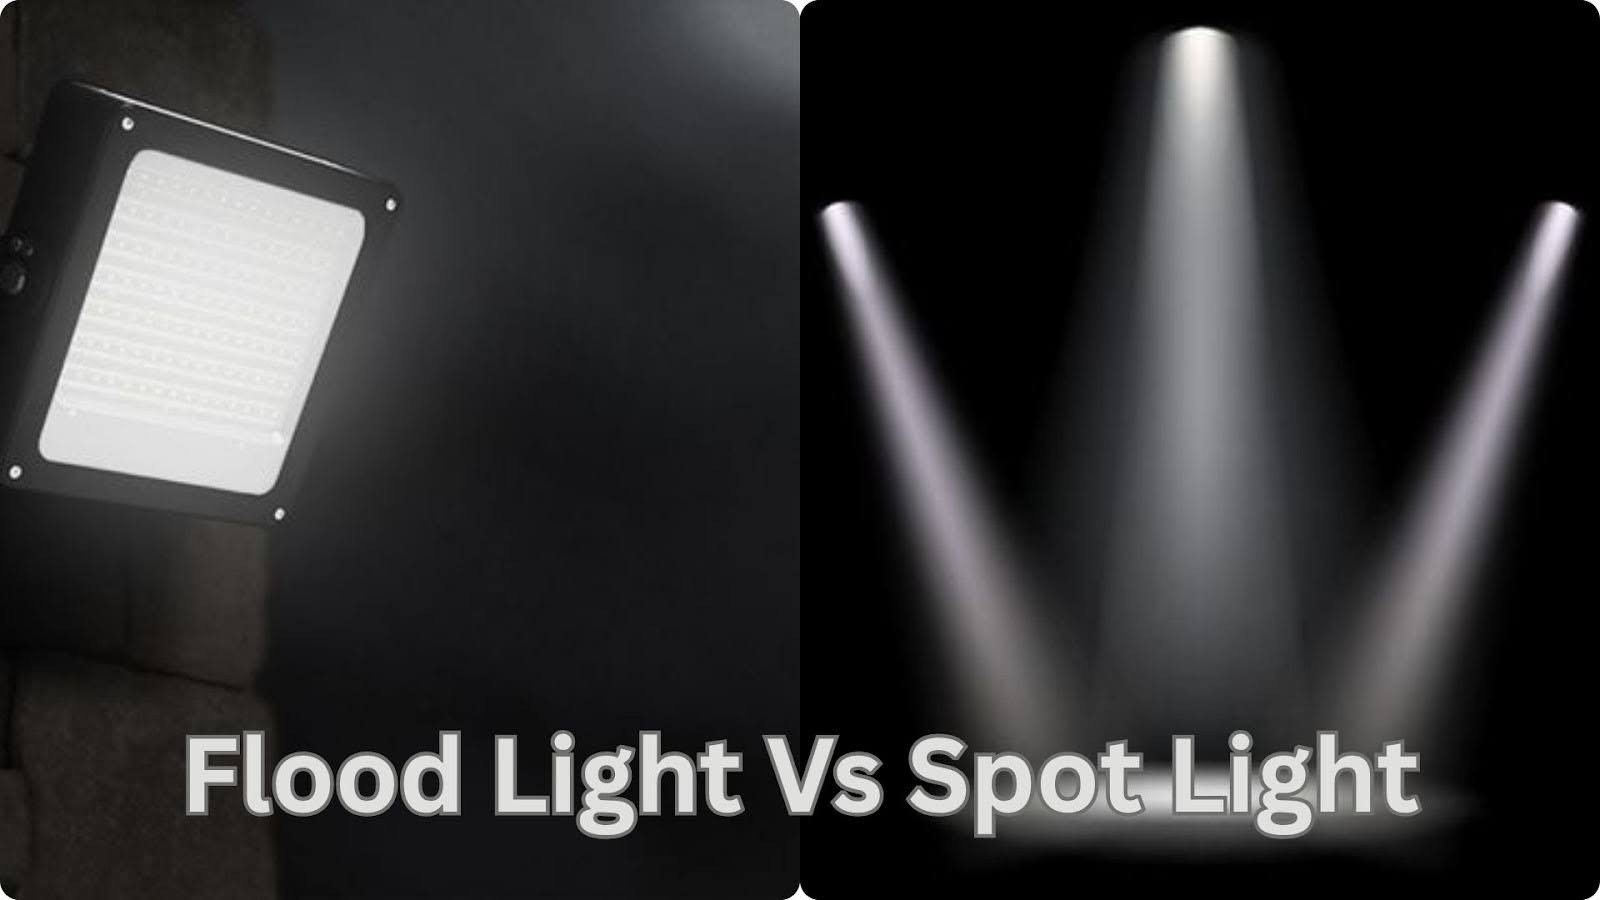
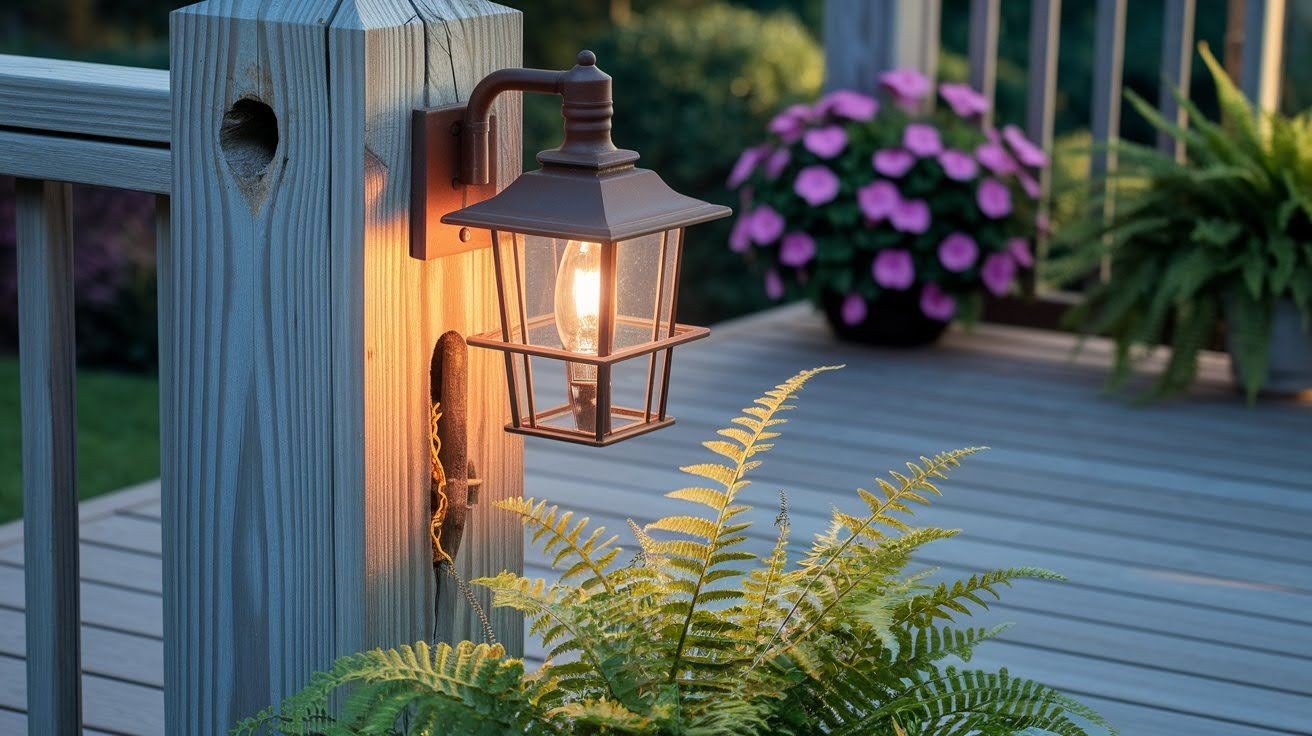
Not all deck lights do the same job. Post cap lights sit on top of posts and provide soft, general lighting. Recessed lights go into the deck floor and stay out of the way.
Step riser lights mount on stair fronts for safety. Under-rail lights hide beneath handrails and create a subtle glow. Rope lights and flood lights work great for accent areas.
Match your light type to its purpose. Use bright lights where safety matters. Use softer lights where you want mood and comfort. Mixing different types creates the best look.
Gather Tools and Materials

Before you start drilling, collect everything you’ll need. You’ll want a transformer (the power box), wire connectors, outdoor-rated cable, a drill with bits, wire staples, screws, and a wire stripper.
Check whether your lights use AC or DC power. Never mix the tw,o they’re not compatible. Your transformer must match your light voltage, usually 12V for most residential setups.
Having everything ready means no mid-project trips to the hardware store. Lay out your tools and materials in one spot before you begin.
Install Transformer and Wiring
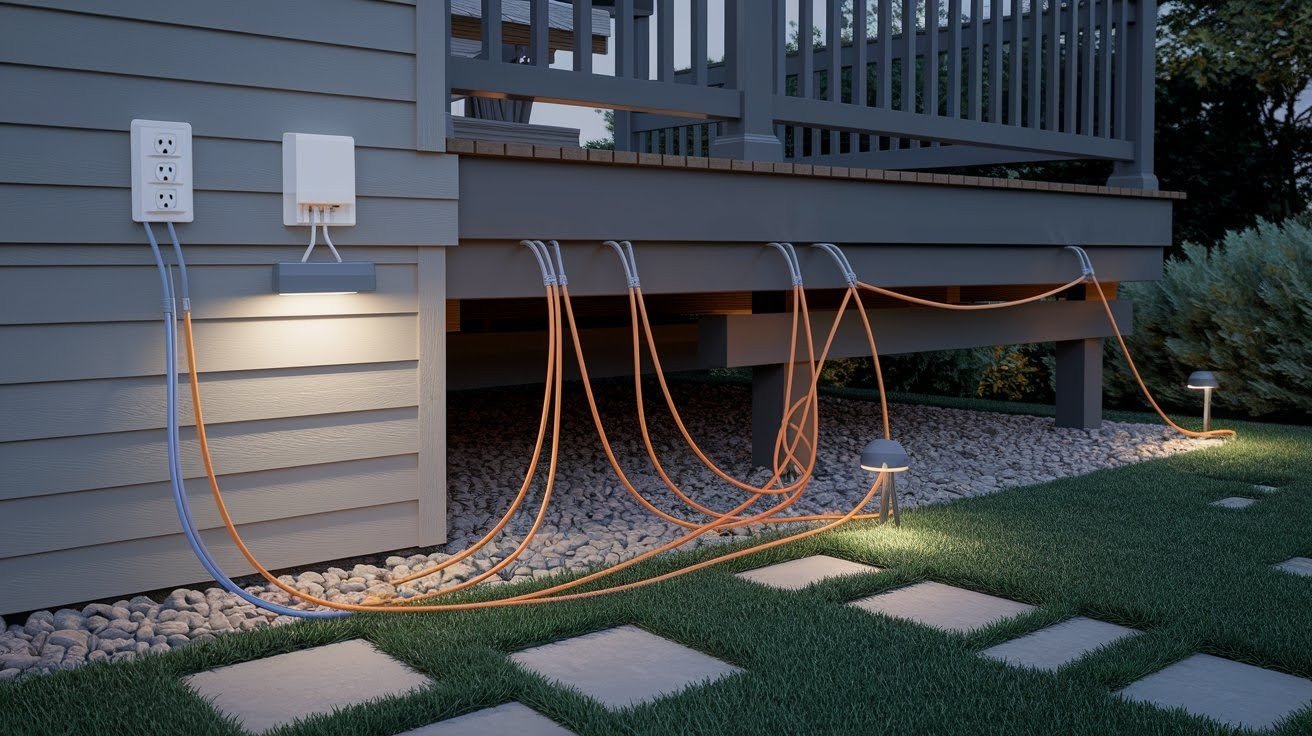
Mount your transformer on a wall near a GFCI-protected outlet. These special outlets prevent electrical shocks outdoors. The transformer should be at least 12 inches off the ground.
Run your cables under the deck, not on top where people walk. Use wire staples to secure them to joists and beams. Keep cables neat and organized future you will thathe nk present you.
Never use regular extension cords for permanent deck lighting installation. They’re not built for long-term outdoor use and can become fire hazards. Stick with proper outdoor-rated cables.
Install Lights (Fixture-Specific Steps)
Post Cap Lights
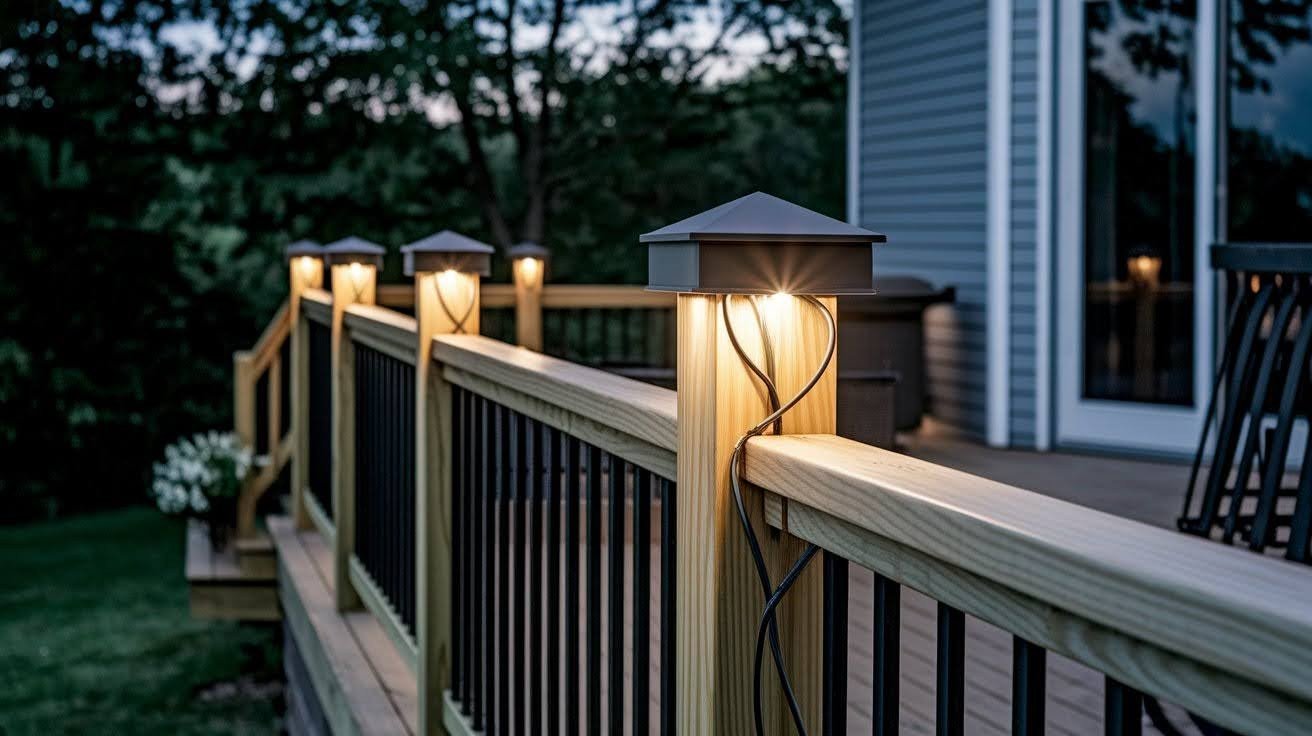
Thread the wire up from below the deck through the post. Leave a few extra inches of slack so you can easily fit the cap on later.
Post Lights
Drill a narrow hole through the post side for the wire. Create a small pocket behind the light fixture so the wire connections sit flush.
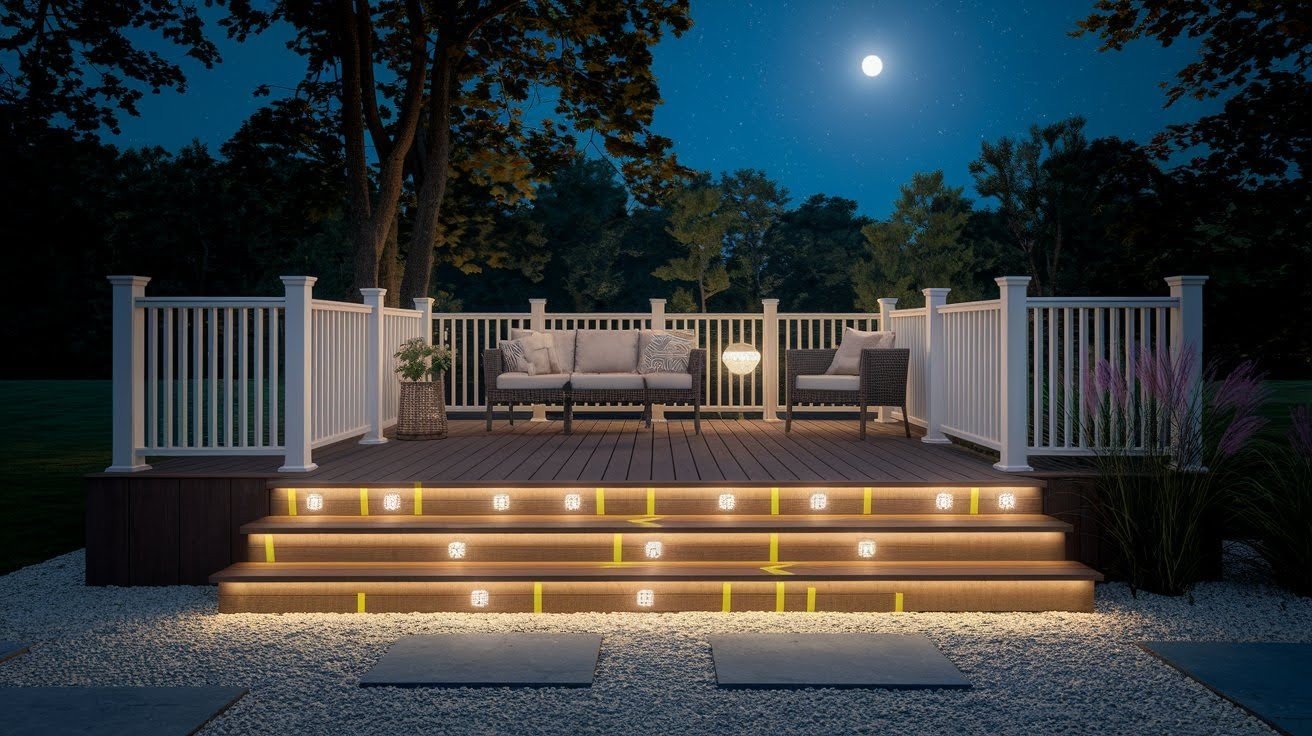
Riser Lights
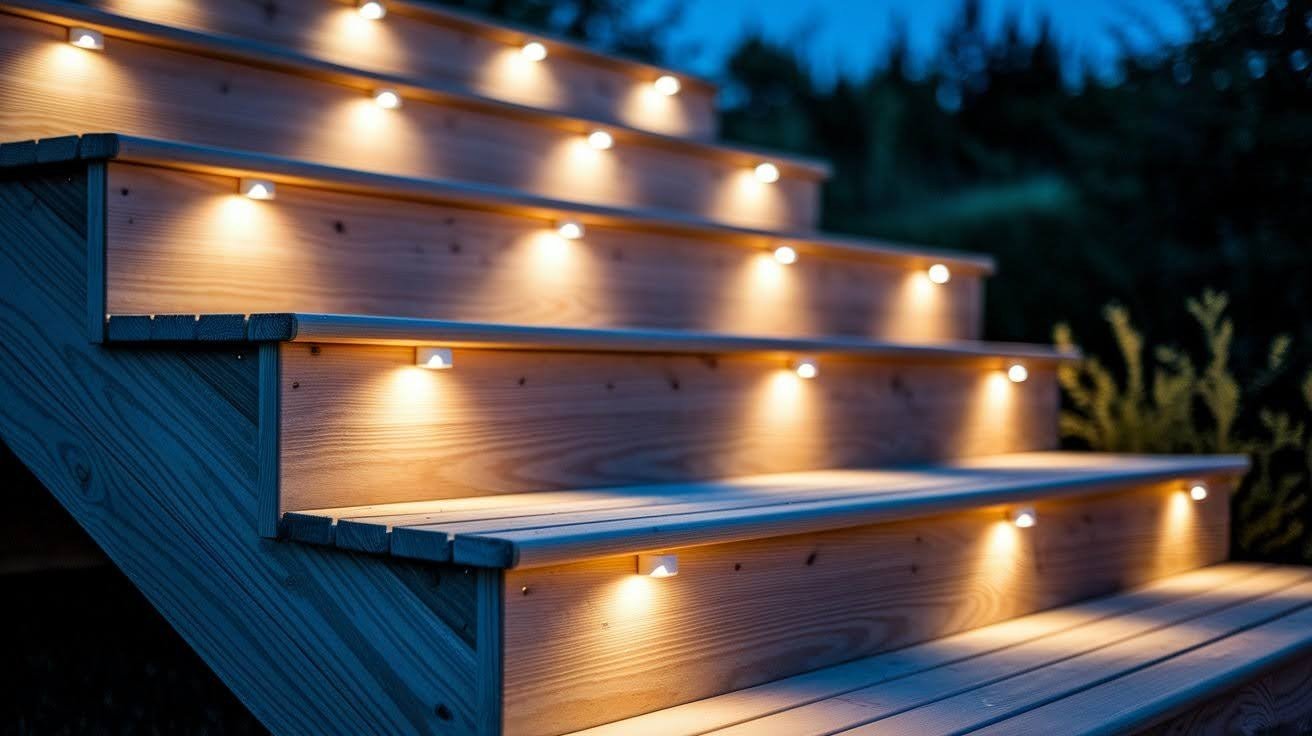
Drill through the stair riser board from behind. Connect the wires behind the stairs where they’re hidden. Recessed Deck Lights: Drill holes that match the light housing depth.
Rope and Flood Lights
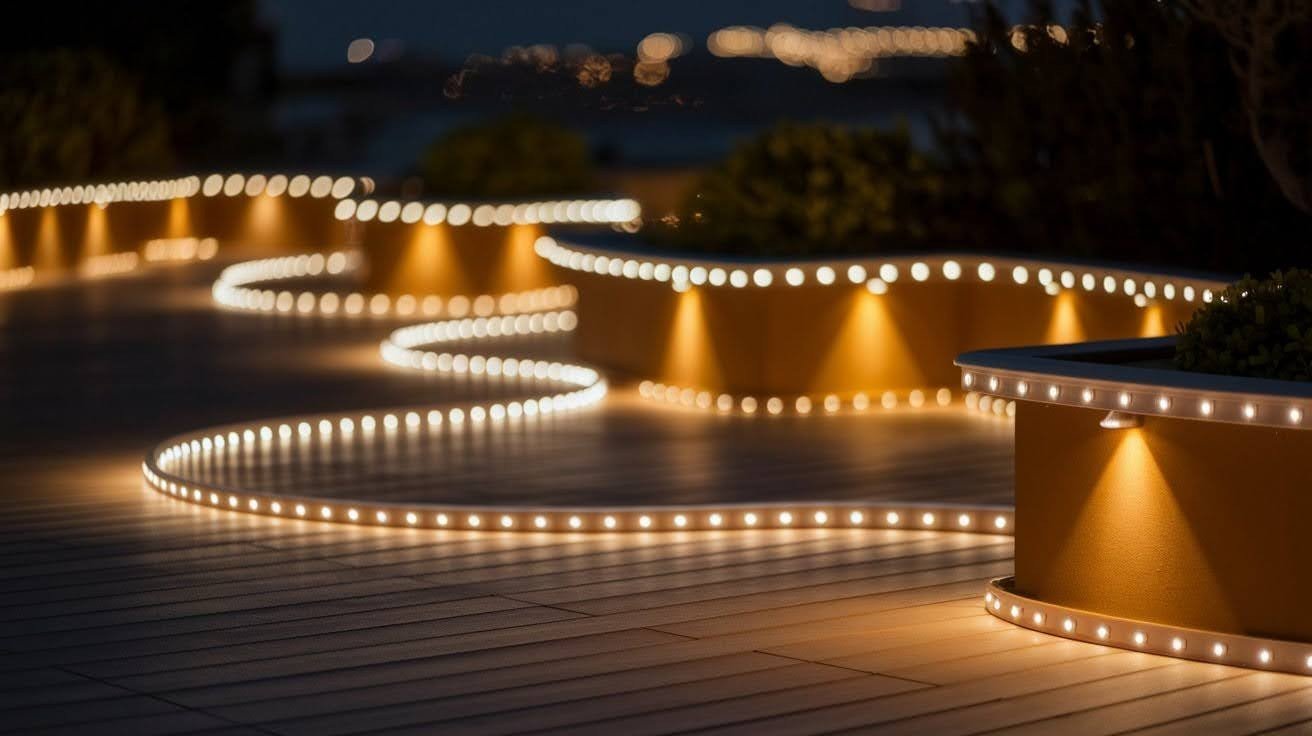
Measure your space first, then cut rope lights to fit. Use mounting tracks and clips to hold them in place securely.
Connect and Test the System
Attach each light to the cable using wire connectors or splitters. Most systems use simple plug-in connections, no need to strip wires or use electrical tape.
Plug the transformer into your GFCI outlet and flip the switch. Check that every light turns on. If one doesn’t work, you’ve likely got a loose connection.
Fix problems now before you finish the installation. Wiggle connections gently. Check that the transformer isn’t overloaded. A little troubleshooting saves big headaches later.
Supporting Details
Understanding the technical side helps you avoid common mistakes. These details matter for safety and long-term performance.
Wiring and Power Considerations
Most homeowners use 12V low-voltage systems. They’re safe to work with and less likely to cause serious shocks. They’re also easier to install than standard 120V household wiring.
Never mix AC and DC fixtures on the same circuit. They require different transformers and won’t work together. Check every light package carefully before buying.
Size your transformer correctly. Add up the wattage of all your lights, then add 25% extra capacity. This buffer prevents overheating and gives you room to add lights later. Use the right wire gauge based on cable length: 12-gauge for short runs, 10-gauge for medium, 8-gauge for long distances.
Cable Management and Safety
Hide your cables under deck framing using insulated staples. Space staples every 12-18 inches to prevent sagging. Keep wires away from sharp edges that might cut through the insulation.
Protect any unused ports on your wire splitters with rubber caps. This keeps moisture out and prevents corrosion. Water and electricity don’t mix.
Always use GFCI protection for outdoor electrical circuits. These outlets cut power instantly if they detect a problem. They’re required by building codes and could save your life.
Troubleshooting and Maintenance
Dim lights usually mean a voltage drop, your cables are too long or too thin for the power load. Flickering lights often indicate loose connections that need tightening.
If the lights don’t turn on at all, check that your transformer isn’t overloaded. Add up your light wattage again. You may need a bigger transformer or a second circuit.
Clean your light fixtures twice a year with a soft cloth and mild soap. Replace any burnt-out LEDs promptly. Most LED deck lights last 25,000 hours, but eventually they’ll need replacement.
Creative Deck Lighting Ideas
Here are nine ways to make your deck lighting installation stand out:
- Install lights under the handrails for a soft glow that guides guests without blinding them
- Add lights to every stair step so no one misses a step in the dark. Safety first
- Use different colors for special occasions by choosing RGB lights with remote controls
- Light up the pathway from your door to the deck so the whole area flows together
- Place lights around planters and garden beds to highlight your landscaping at night
- Add dimmer switches to your transformer so you can adjust brightness for different moods
- Install motion sensors on one zone to light up when people approach, great for saving energy
- Create zones with separate switches, bright lights for cooking areas, soft lights for lounging
- Mix recessed floor lights with post lights for a layered look that adds depth and interest
Conclusion
Now that you have got each of the steps for deck lighting, the time has come for them to go into action. Plan the layout, and start working! You must pick lights for each room, gather tools, and follow instructions to wire lights in order.
Just take your time, do it one piece by piece, test it out, and if there’s a problem with it, fix it straight away. If someone rushes, then that action can lead to some mistakes. Slow and steady is what wins the day.
In due time, your deck will become an inviting refuge, somewhere you can go at night. You will be amazed knowing that you did it yourself. And friends and family will love it when they come over for an evening there. So turn on the light!
Frequently Asked Questions
How much does deck lighting installation cost if I do it myself?
DIY deck lighting installation typically costs $200-$600 for an average deck. This includes the transformer, lights, cables, and connectors. Professional installation adds $500-$1,500 in labor costs.
Can I install deck lights without electrical experience?
Yes. Low-voltage deck lighting systems are designed for beginners. They use simple plug-in connections instead of hard wiring. Just follow the manufacturer’s instructions carefully and test everything before finishing.
How long does deck lighting installation take?
Plan for 4-8 hours for a basic setup on a medium-sized deck. Complex layouts with many fixtures may take a full weekend. Working slowly and carefully produces better results than rushing.
What’s the best voltage for deck lighting?
12V low-voltage systems work best for most homes. They’re safe, energy-efficient, and easy to install. Higher voltages require licensed electricians and cost more to run over time.
Do I need a permit for deck lighting installation?
Most areas don’t require permits for low-voltage lighting. However, if you’re adding new electrical outlets or modifying your main electrical panel, check local building codes first.