Have you ever driven past another person’s house at night, then stated, “Wow, that looks amazing”? Your home’s look will be defined. How you place your exterior light fixtures in your home’s exterior does so for that reason.
Good outdoor lighting serves not only to improve the look of your house, but also to protect your family from trip and fall accidents, as well as from unauthorized persons being around your home. In addition, it can often add thousands to the value of your home.
We will even tell you where to put the lights for the best effect, whether you want to light walkways and porches or driveway, patio, and other outdoor living areas. And we will tell you the most expensive mistake homeowners make.
Understanding the Three Rules of Effective Outdoor Lighting
These three rules form the foundation of any good lighting plan for your home’s exterior.
Rule 1: Cohesion
Your lights should match your home’s style and color. If you have a brick colonial house, traditional lantern-style fixtures work best. Modern homes with clean lines need simple, geometric fixtures.
Everything should look like it belongs together. Your porch lights, path lights, and accent lights should all speak the same design language. This doesn’t mean identical fixtures everywhere. It means choosing a family of products that share similar shapes or finishes.
Look at what’s already there before buying new lights. Your mailbox, door hardware, and house numbers set a style. New lights should work with these elements, not fight against them. When everything coordinates.
Rule 2: Depth of Lighting
Your home is three-dimensional, so your lighting should be too. Start at the border with your brightest lights. These define your property and create the first layer. Middle-area lights at medium brightness add the second layer.
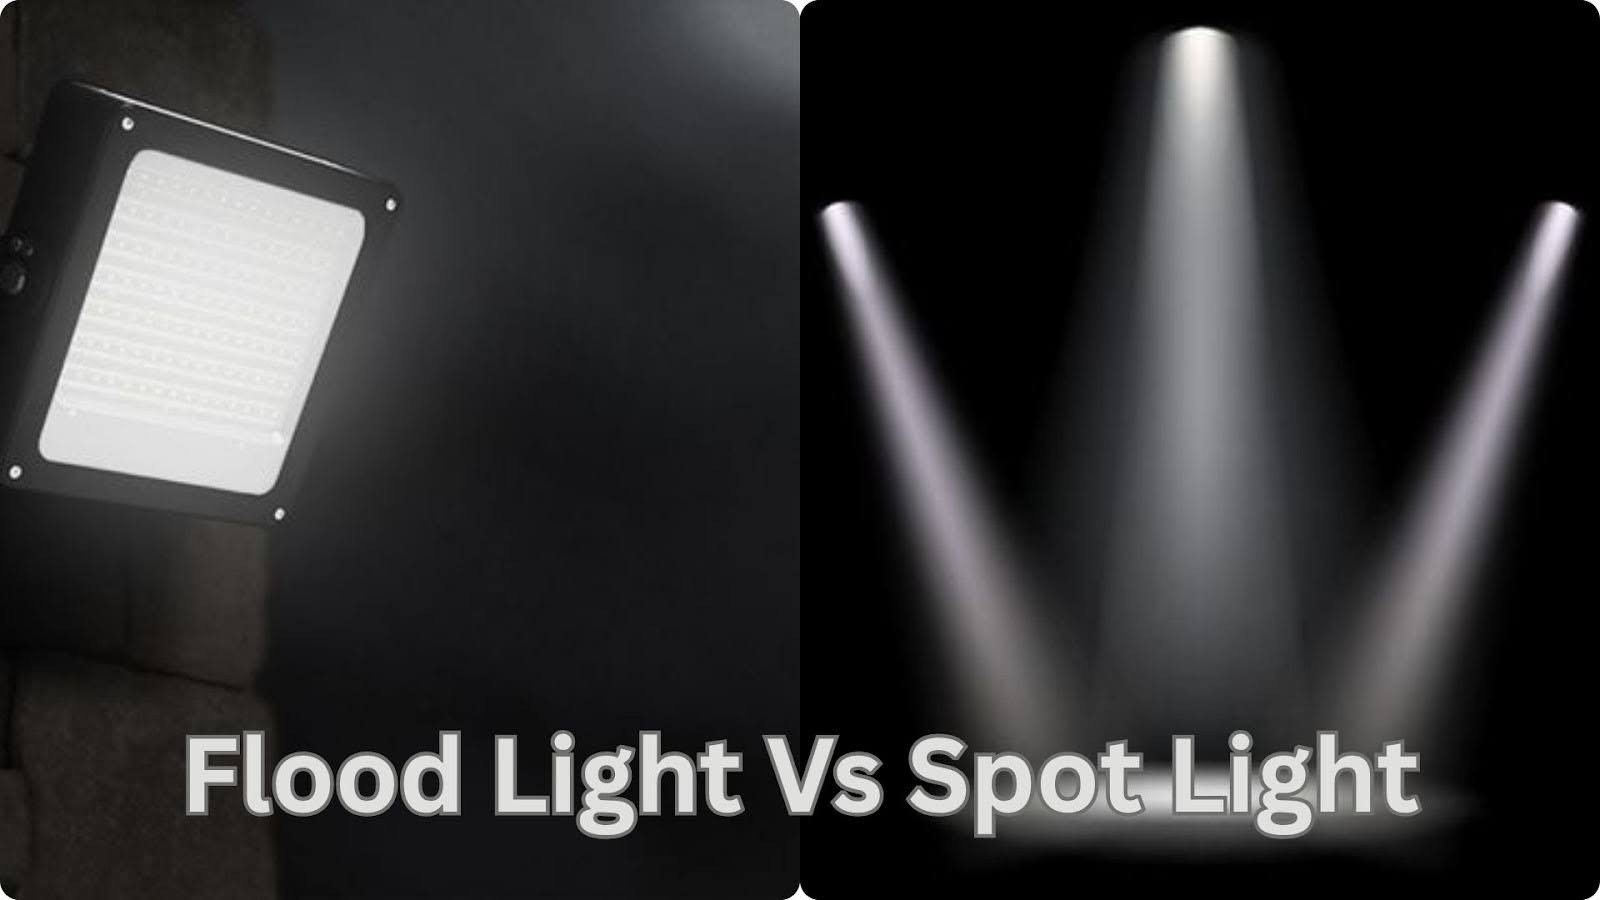
Different wattages create this layered effect. A 20-watt spotlight on your front door catches the eye first. Then, 10-watt path lights guide visitors forward. Finally, 5-watt accent lights in the back garden add mystery.
This depth trick works because it copies how we see during the day. Closer objects appear brighter and clearer. Things farther away get softer and dimmer. When your exterior front-of-house lighting positions follow this natural pattern, the result looks right to our eyes.
Rule 3: Focal Points
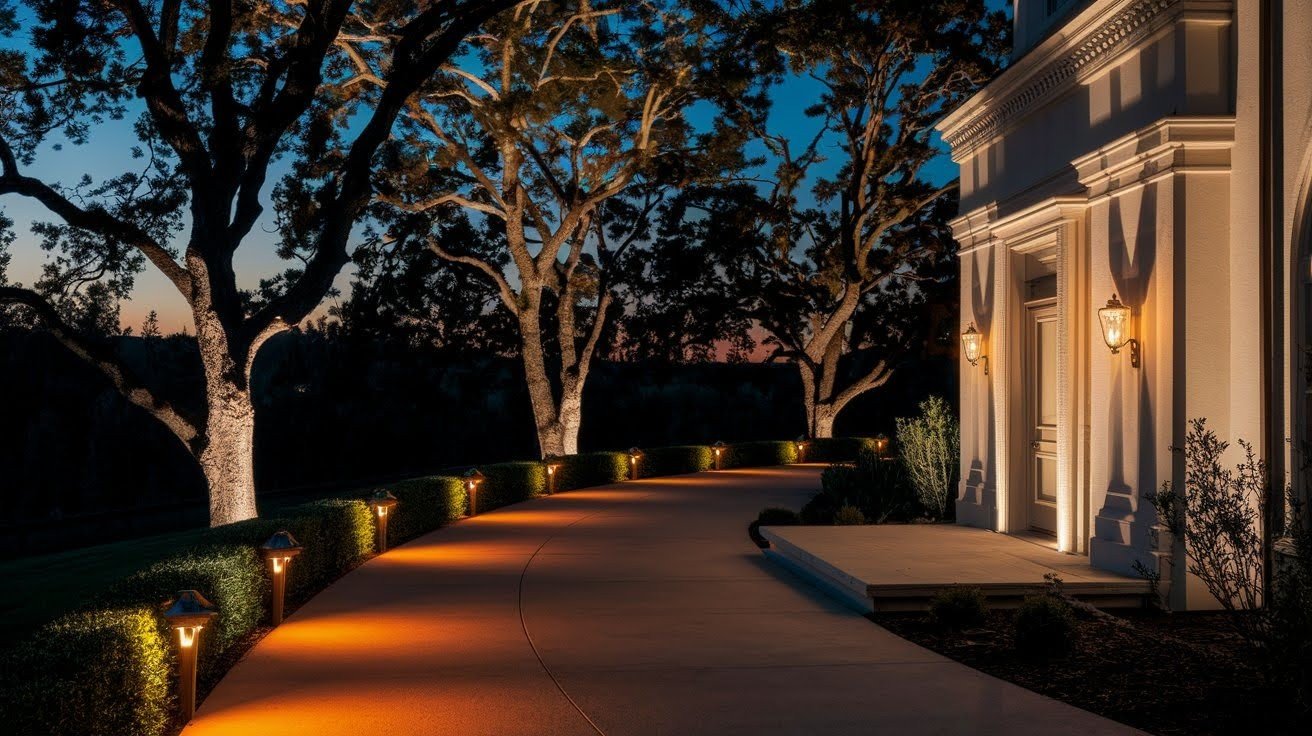
Every yard has features worth showing off. A pretty fountain, mature tree, or stone wall deserves attention. These decorative focal points add beauty and personality. Light them from below or the side to create drama.
Functional focal points keep you safe. Your front path, steps, and driveway need good light so nobody trips. The house number should be visible from the street. Your garage door area needs light for fumbling with keys.
You can have multiple focal points, but don’t overdo it. Pick two or three main features for decorative lighting. Then handle all the functional needs for safety. This balanced approach means your home looks good and works well.
Common Mistakes to Avoid When Positioning Exterior Lights
Avoid common exterior lighting mistakes. Learn how to angle lights, choose bulbs, and safely wire your home for perfect front-of-house illumination.
- Never aim lights straight at your doors or windows: it blinds you and guests, and lights up your living room when you want privacy. Angle lights to the side or use shields instead.
- Make sure your path lights point downward, not up: upward lights can shine in your eyes and cause trips or falls.
- Avoid over-lighting your driveway: too many lights create that harsh “runway” look. Less is more for safety and style.
- Keep wiring safe and hidden: always bury wires at least 18 inches deep and mark digging spots with stakes or photos. This prevents accidental cuts when gardening or planting.
- Ignoring your home’s style: Modern lights on a classic house can look out of place → Match fixture style to your home.
- Using the same brightness everywhere: Makes your yard look flat → Mix 5W, 10W, and 20W bulbs for natural depth.
- No focal points chosen: Light goes everywhere and nowhere → Pick 2–3 features to highlight first.
- Forgetting three dimensions: Yard looks flat at night → Light front, middle, and back areas.
- Poor color temperature mix: Warm and cool whites clash → Stick to one color temperature (2700K–3000K).
- Wrong fixture finish: Brass fixtures on a gray house → Match fixture finish to your door hardware.
Creating Your Front House Lighting Plan
A solid plan saves you time, money, and frustration during installation.
Step 1: Identify Your Focal Points
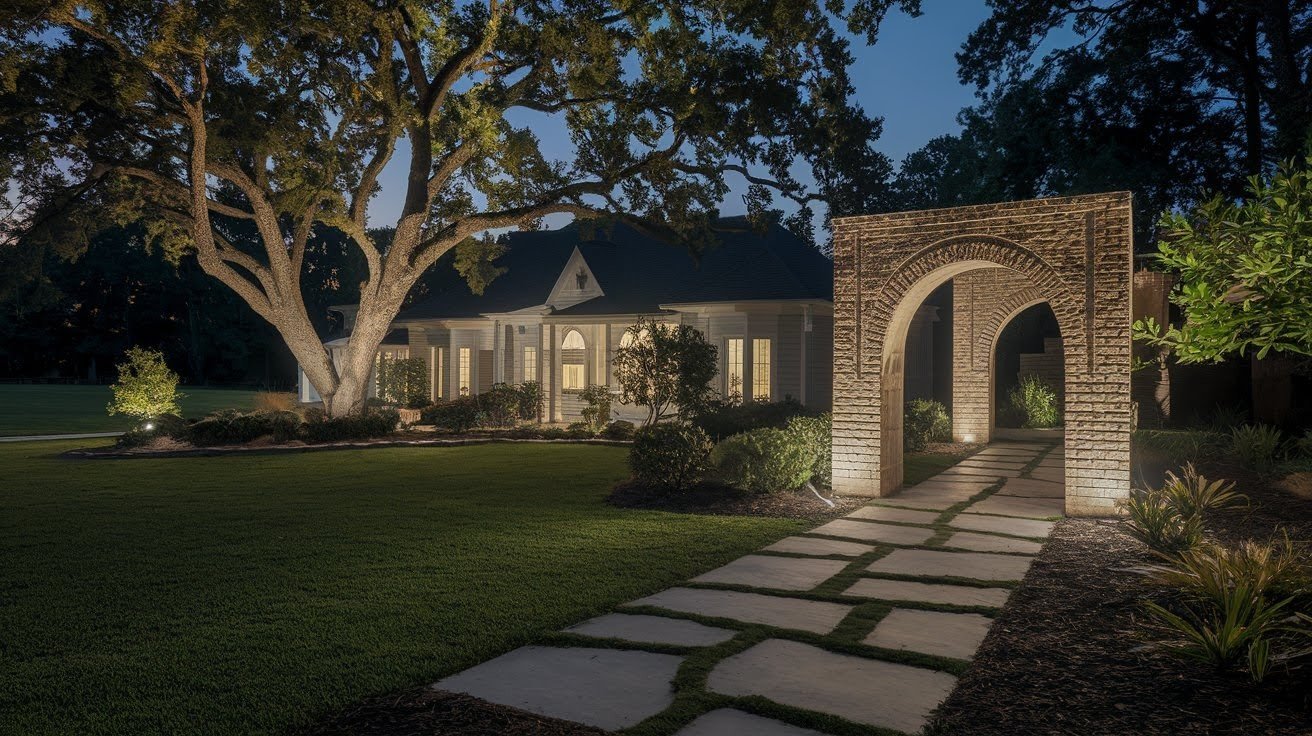
Walk around your house at dusk and note what catches your eye. Is it the nice oak tree? The brick archway over your door? Your stone pathway? Write down the top three features you want to highlight.
Think about both beauty and function. Your decorative focal points make your home special. Your functional focal points make it safe. You need both types in your plan. A pretty fountain won’t help if people can’t see the steps to your front door.
Take photos from the street at night with your phone. This shows you what visitors see when they arrive. Dark spots in the photos show where you need more light. Bright spots might mean you’re over-lighting an area.
Step 2: Assess Existing Exterior Elements

Look at what’s already installed in your house. Do you have porch lights? Are there old spotlights that don’t work? Note the locations of outlets and existing wiring. This information helps you plan where new lights can go easily and where you’ll need more work.
Check your home’s architectural features. Columns, arches, and interesting roof lines all affect light placement. A column might be perfect for hiding an uplight. An overhang might need special fixtures that work in tight spaces.
Consider your landscaping, too. Trees and bushes grow, so think ahead. A small shrub today might block a light in two years. Mature trees offer great mounting points for downlights. Plan your exterior front-of-house lighting positions around both current and future landscape conditions.
Step 3: Map Out Lighting Zones
Draw a simple sketch of your property from above. Mark your house, driveway, walkway, and main features. Now divide the yard into zones: entry area, path zones, landscape zones, and security zones.
Label each zone with a priority number. Priority 1 is your front door and main path; these are essential. Priority 2 might be the driveway and side paths. Priority 3 covers decorative features like garden beds or trees.
Note the distance from your house to each zone. Zones close to the house can use line-voltage systems. Areas far from power sources might need low-voltage or solar options. Understanding these technical needs early prevents problems during installation.
Step 4: Select Appropriate Fixtures
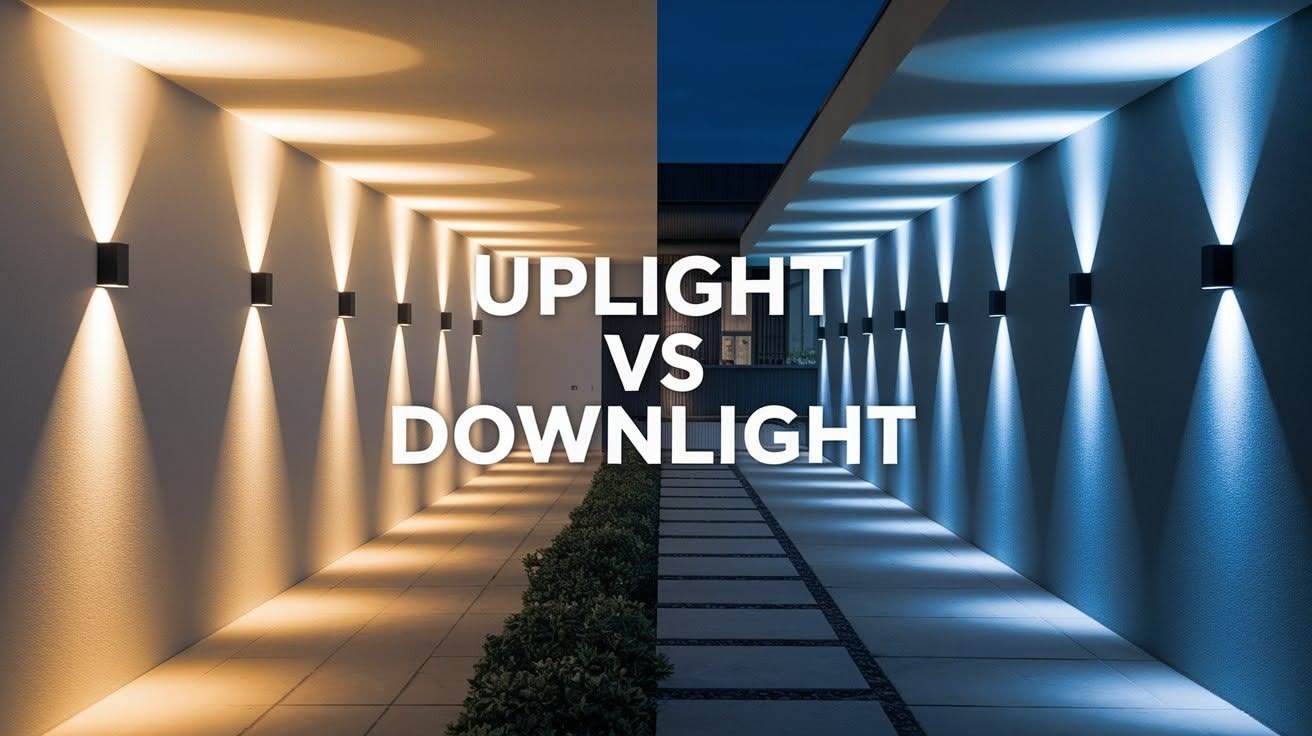
Match fixture types to each zone’s needs. Path zones need low, shielded lights that point down. Entry areas need wall sconces or hanging fixtures. Uplighting zones need bullet or well lights that angle up.
Choose the right bulb type for each location. LED bulbs last longer and use less power. They’re the smart choice for most spots. Check the color temperature too. Warm white (2700K-3000K) works best for homes.
Buy quality fixtures that can handle the weather. Cheap lights fail within a year. Good fixtures last 10 to 15 years or more. Look for solid construction, sealed connections, and good warranties. This investment pays off in lower replacement costs and better reliability.
Step 5: Plan Positioning Specifications
Get specific about measurements now. Write down exactly where each light goes. For path lights, note “14 inches high, 8 feet apart, on the right side.” For uplights, note “3 feet from tree trunk, angled 30 degrees up.”
Calculate how many fixtures you need for each zone. A 30-foot walkway with lights every 8 feet needs four fixtures. A 15-foot wall with lights every 5 feet needs three fixtures. Add 10% extra to your count for flexibility during installation.
Plan your wiring routes carefully. Group lights on the same circuit when possible. Note where you’ll need junction boxes or transformers. Mark where trenches need to be dug. This level of detail in your exterior front-of-house lighting positions plan prevents expensive changes later.
Step 6: Consider Professional Consultation
Even with a great plan, a professional can spot issues you might miss. They know local electrical codes and permit requirements. They can tell you if your electrical panel can handle the new load.
Professionals also have access to better products. Many high-quality fixture brands only sell through licensed installers. These products often come with better warranties and support. The cost difference between DIY and professional installation might be smaller than you think.
You don’t have to hire out the whole job. Many homeowners plan and buy fixtures themselves, then hire an electrician just for the wiring and connections. This hybrid approach saves money while keeping you safe and legal.
Step 7: Test and Adjust Your Lighting
After installation, walk around your property at night to see how each light performs. Check for dark spots, glare, or uneven coverage. This helps you spot areas that need repositioning before finishing the setup.
Adjust the angles of uplights and downlights as needed. Even small tweaks can dramatically improve appearance and safety. Make sure all fixtures illuminate their intended zones without shining into windows or neighbors’ yards.
Consider using timers, dimmers, or smart controls to fine-tune brightness and scheduling. This ensures your exterior lighting works efficiently, looks balanced, and provides safety exactly when you need it.
Front of House Lighting Positions Explained
Let’s break down the specific placement rules for each area of your home’s exterior.
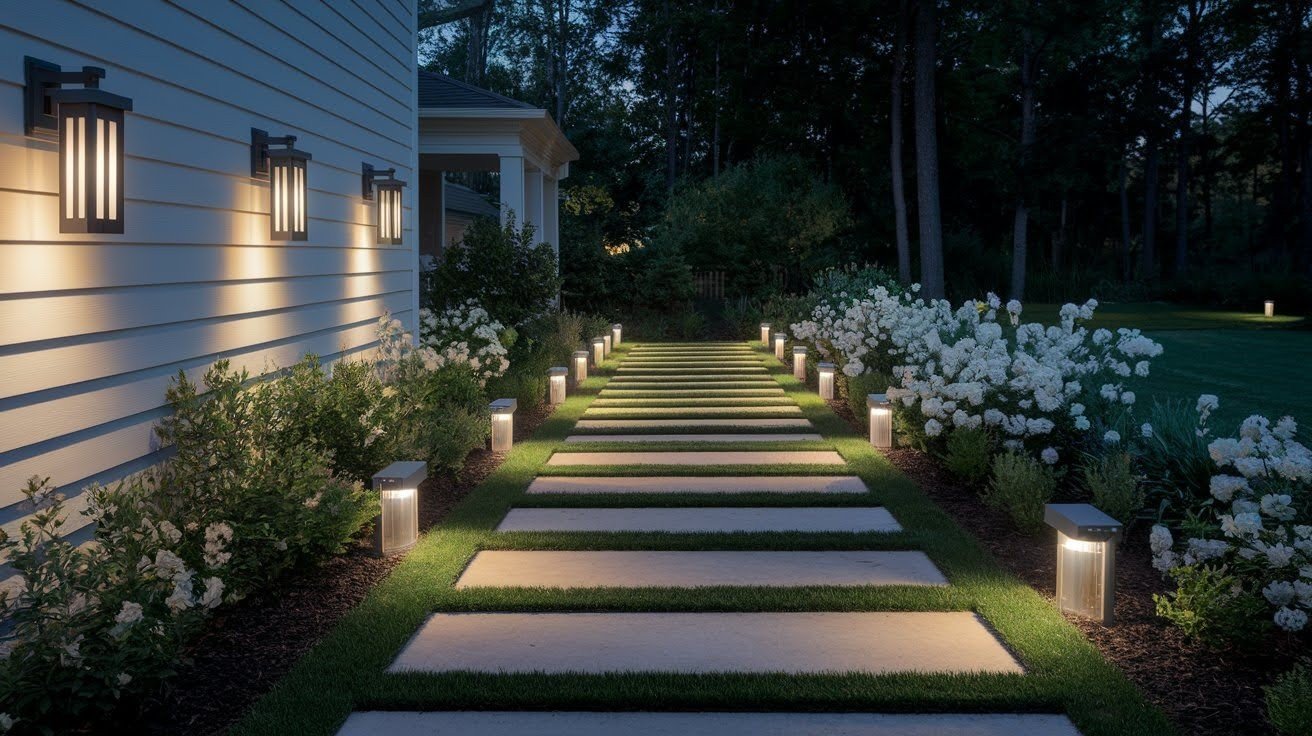
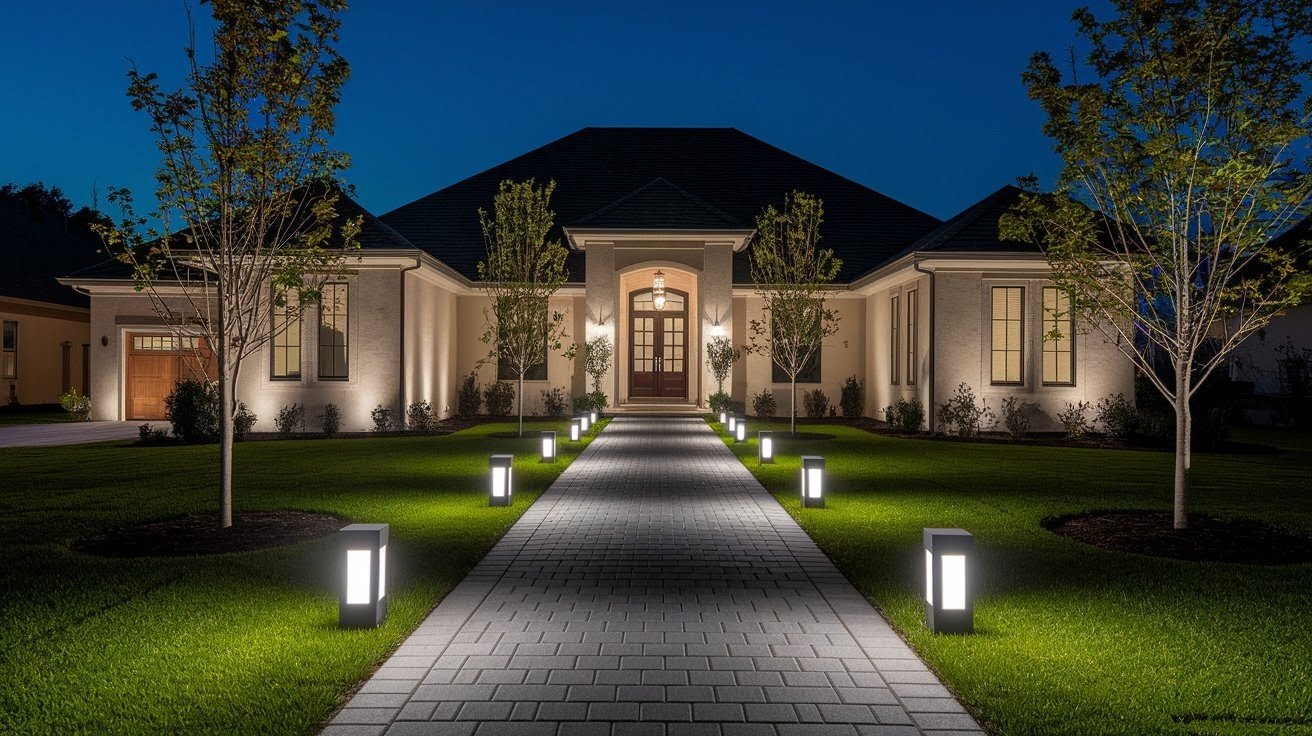
Pathway and Walkway Lighting Positions
Set pathway lights at 14 inches above the ground for the best coverage. This height spreads light evenly without creating hot spots. The beam should hit the ground about 2 to 3 feet in front of the fixture.
Place lights along the edges of your walkway, not down the middle. Edge placement defines the path clearly without making people step over fixtures. Space them 6 to 8 feet apart for continuous coverage.
Dome-topped fixtures work best because they push all the light downward. This prevents glare in windows and wastes less light shooting up into the sky. LED bulbs in pathway lights last for years and barely use any electricity. They’re worth the extra upfront cost.
Entry and Porch Lighting Placement
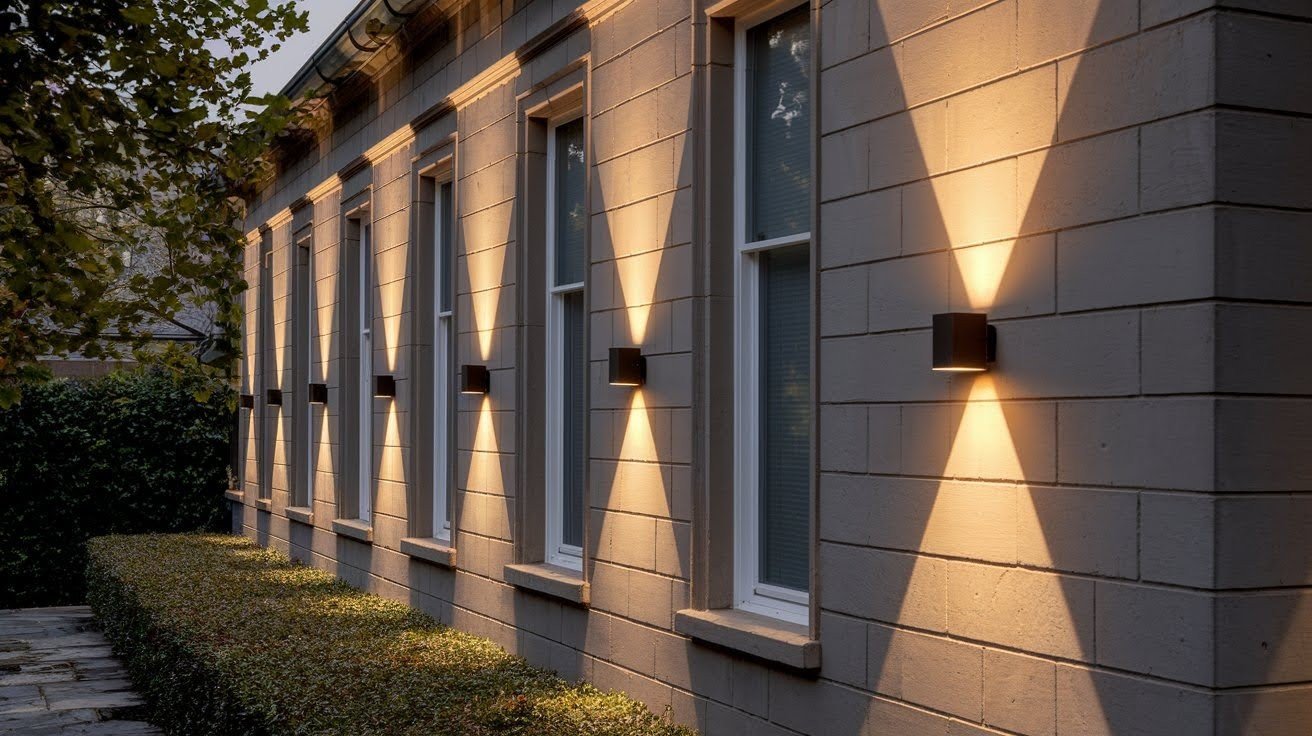
Wall sconces beside your front door should sit at 5.5 to 6 feet high. This is about eye level for most adults. The fixtures should be 8 to 10 inches away from the door frame. This spacing puts light where you need it without blocking the door’s swing.
Avoid fixtures that shine light straight out at face level. This blinds visitors and makes them uncomfortable. Look for sconces with shades that direct light up and down instead. The goal is to light up the area without creating harsh shadows or bright spots.
A symmetrical setup with matching lights on both sides creates a formal, balanced look. An asymmetrical setup with one light or different sizes feels more casual and modern. Both can work; pick what matches your home’s style and your personal taste.
Staircase Lighting Options
Path lights along the sides of outdoor stairs work well for standard setups. Place one light on each side at every third or fourth step. This gives enough visibility without over-lighting. The lights should angle down toward the steps, not out toward people’s faces.
Hardscape lights mounted on flanking walls add a clean look. These small, recessed fixtures tuck into the wall itself. They need to be installed during construction or major renovation. The effect is worth it if you’re building new or doing extensive repairs.
Downlighting from nearby tall trees creates a natural moonlight effect. Your trees need to be at least 25 feet tall for this to work. Mount fixtures high in the branches and aim them down at the stairs. This option takes more work to install, but looks amazing.
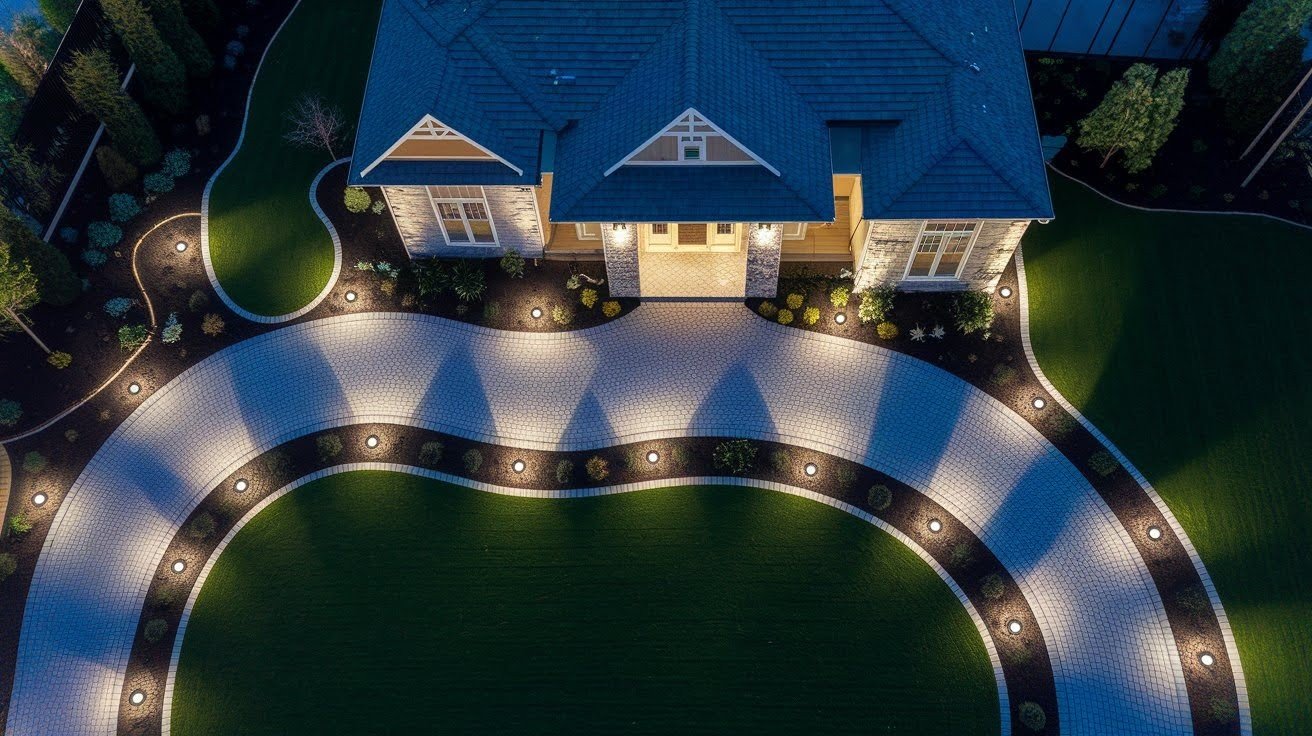
Driveway Illumination Strategies
Avoid lining both sides of your driveway with lights. This creates the “runway effect” that looks commercial and harsh. Instead, put lights on just one side, staggered every 20 to 30 feet. Or alternate sides, one light on the left, the next one on the right, and so on.
A floodlight at the garage door helps with security and daily tasks. Mount it 8 to 10 feet high and angle it down at the parking area. Add a motion sensor so it only comes on when needed. This saves energy and makes the light more useful as a security feature.
Downlights in trees near the driveway add soft, natural-looking illumination. They light up the area without the harsh look of spotlights on poles. For the driveway entrance from the street, consider pillar lights or post lights. These mark your entry clearly for visitors.
Pro Tips for Perfect Exterior Lighting
A few expert tips can help you get the most out of your exterior lighting, making your home safe, functional, and visually appealing
- Test before you commit: Set up temporary lights with extension cords to see how placement looks before permanent installation
- Think about light pollution: Aim all fixtures downward or use shields to keep light on your property, not in the sky or neighbor’s yard.ds.
- Plan for seasons: Consider how trees and plants change throughout the year—winter reveals different views than summer
- Use timers wisely: Set lights to turn on at dusk and off at 11 PM or midnight to save energy while maintaining security.
- Mix fixture styles carefully: You can use different types (path lights, spotlights, sconces), but keep finishes consistent
- Remember the rule of three: Odd numbers of lights or focal points look more natural than even numbers
- Consider smart controls: Modern systems let you adjust brightness and timing from your phone, adding flexibility.ty.
- Don’t forget maintenance access: Place fixtures where you can reach bulbs easily for cleaning and replacement.
- Budget for quality: Spending $50 to $100 per fixture beats replacing $20 fixtures every two years
Conclusion
Good front-of-house lighting can make your house look very attractive at night. Start at your front door, main path, and stairs. Safety spots come first, with accent lighting to spotlight your favorite parts of the room.
Common lighting errors are lighting towards windows or faces, very close to a surface, or lighting only a limited range of intensities, which kills the illusion of depth. Lighting may depend on the house’s design.
Let’s focus on one zone in your house. Consider your front door, instead of the whole house. In any case, do not guess about measurements when hiring a contractor. Do not guess when doing the work yourself. Make sure to measure accurately.
Frequently Asked Questions
What is the best height for front door lighting fixtures?
Wall sconces should be mounted at 5.5 to 6 feet high, roughly eye level. This height provides good illumination for faces and the door area without creating harsh shadows or glare problems for visitors.
How far apart should I space pathway lights?
Space pathway lights 6 to 8 feet apart for consistent coverage without dark gaps. Place them along the walkway edges at 14 inches above ground, using dome-shaded fixtures for the best downward light distribution.
Can I use the same wattage for all outdoor lights?
No, mixing wattages creates depth and dimension. Use brighter bulbs (20W) at focal points like doors, medium bulbs (10W) for paths, and softer bulbs (5W) for background areas to achieve a layered lighting effect.
How do I avoid the runway effect on my driveway?
Place lights on only one side of your driveway in a staggered pattern every 20-30 feet, or alternate sides. Avoid lining both edges with evenly spaced fixtures, which creates a harsh commercial appearance.
Should I hire a professional or install lights myself?
If you’re comfortable with basic electrical work and your plan is simple, DIY can work. For complex wiring, multiple circuits, or unfamiliar electrical codes, hiring a licensed electrician ensures safety and meets local regulations properly.