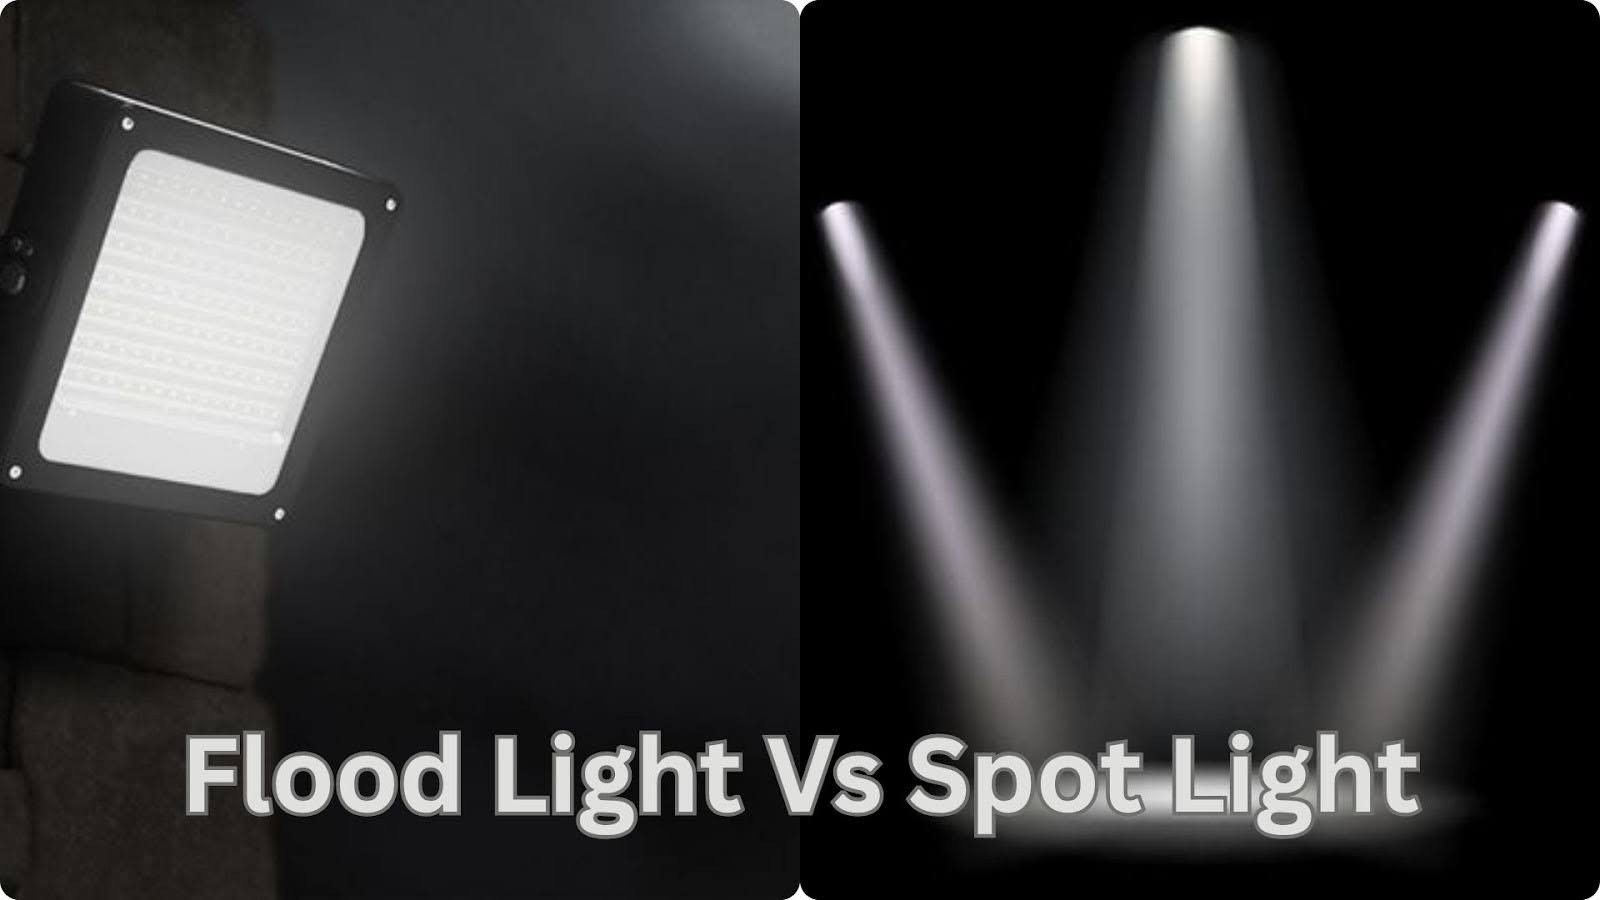
Ever bought a new light before then realized it wouldn’t actually work? I share this feeling, really. You’ve planned out everything so well, you’re still excited about just how beautiful it’ll look, and then the light just doesn’t happen to fit inside.
People’s ability to tolerate size tolerance is generally very small, and a one-unit error usually means that a store trip or a simple bit of work is wasted. That is a mistake I have made myself. It is never fun at all.
Recessed light measurements can appear harder than they are. In this article, I will explain to you how to measure recessed lights, what things to check for, and how to replace them correctly the next time.
How to Measure Recessed Light Size?
Measuring the right size for a recessed light ensures a perfect fit and optimal lighting in your space.
What Recessed Light Size” Actually Means?
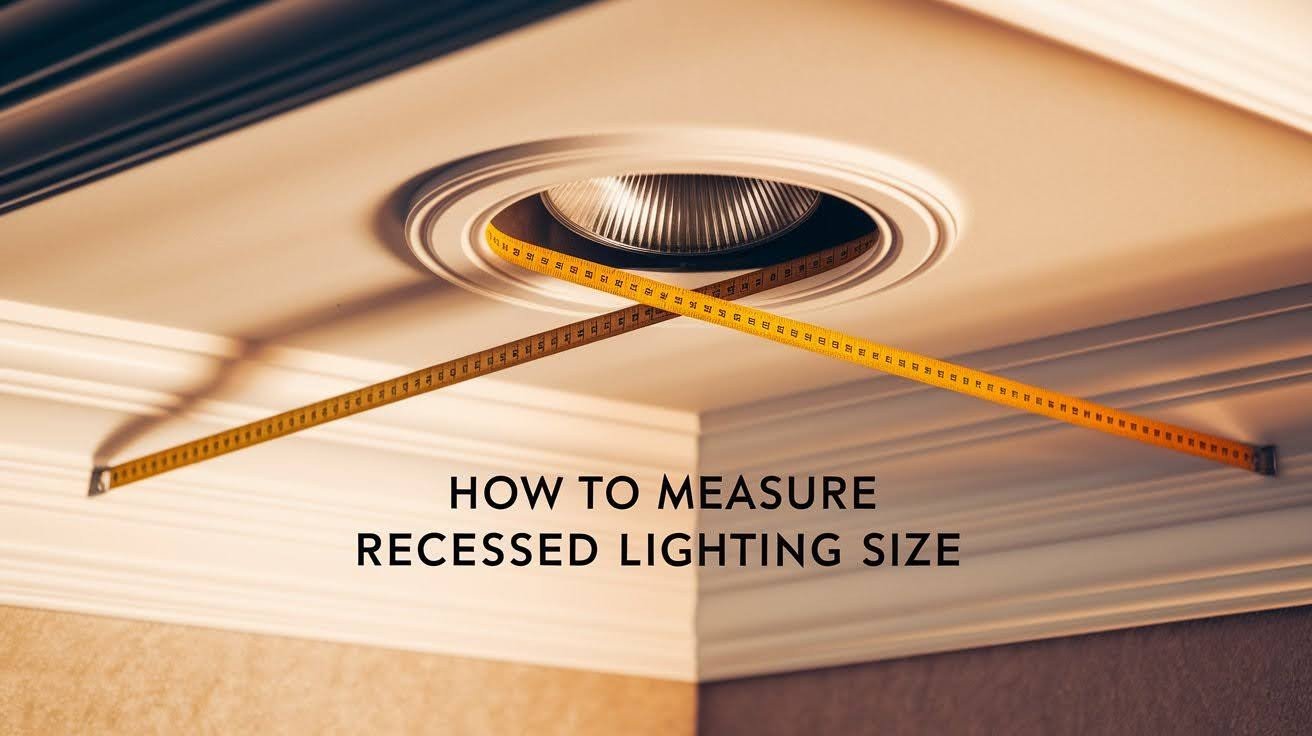
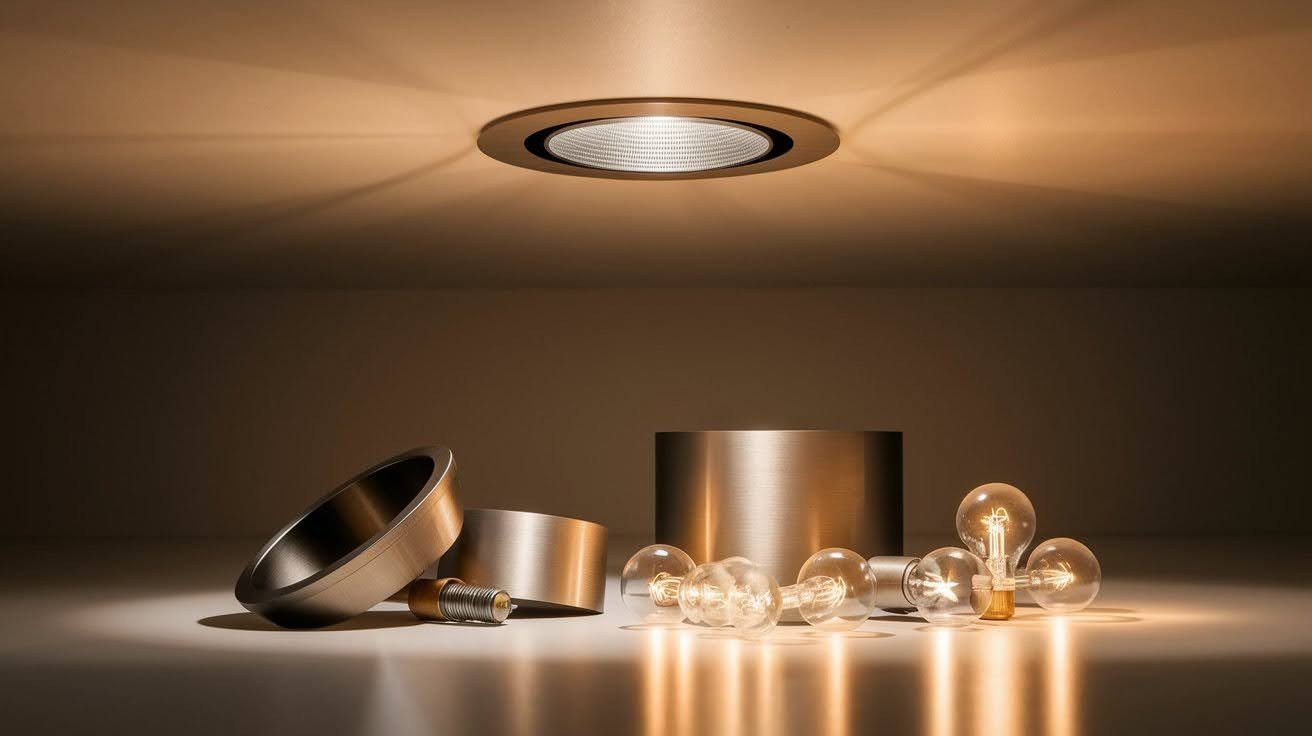
When someone talks about recessed light size, they mean the inside diameter of the housing. This is the circular opening where your light sits, not the trim you see from below.
You need to remove the trim or LED module first to see this opening. This is where you’ll take your measurement. Most homes use three standard sizes.
Common residential sizes are 4 inches, 5 inches, and 6 inches. These numbers tell you the diameter of the housing opening. Knowing your size helps you buy the right replacement parts every time.
Step-by-Step Measurement Process
Before you start measuring, you need to prepare your light properly. This means safely removing the visible parts to access the actual housing.
Step 1: Remove the Light’s Trim or LED Module
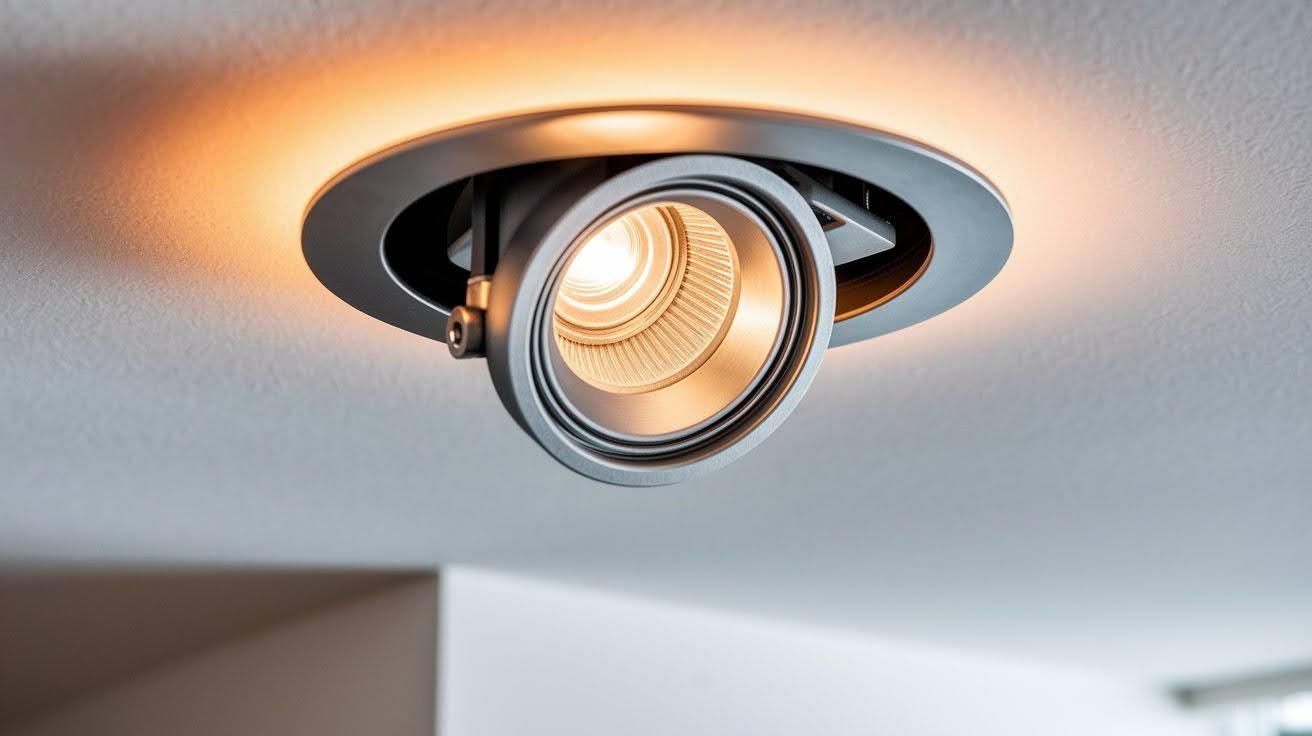
Turn off the power to your light at the circuit breaker first. Safety comes before everything else when working with electrical fixtures.
Most trims have small springs or clips holding them in place. Gently pull down on the trim while squeezing these clips together. The trim should come free easily.
Some newer LED modules twist out or have small tabs you press. Check how yours is attached before pulling too hard. Being gentle prevents damage to your fixture.
Step 2: Measure Across the Housing Opening
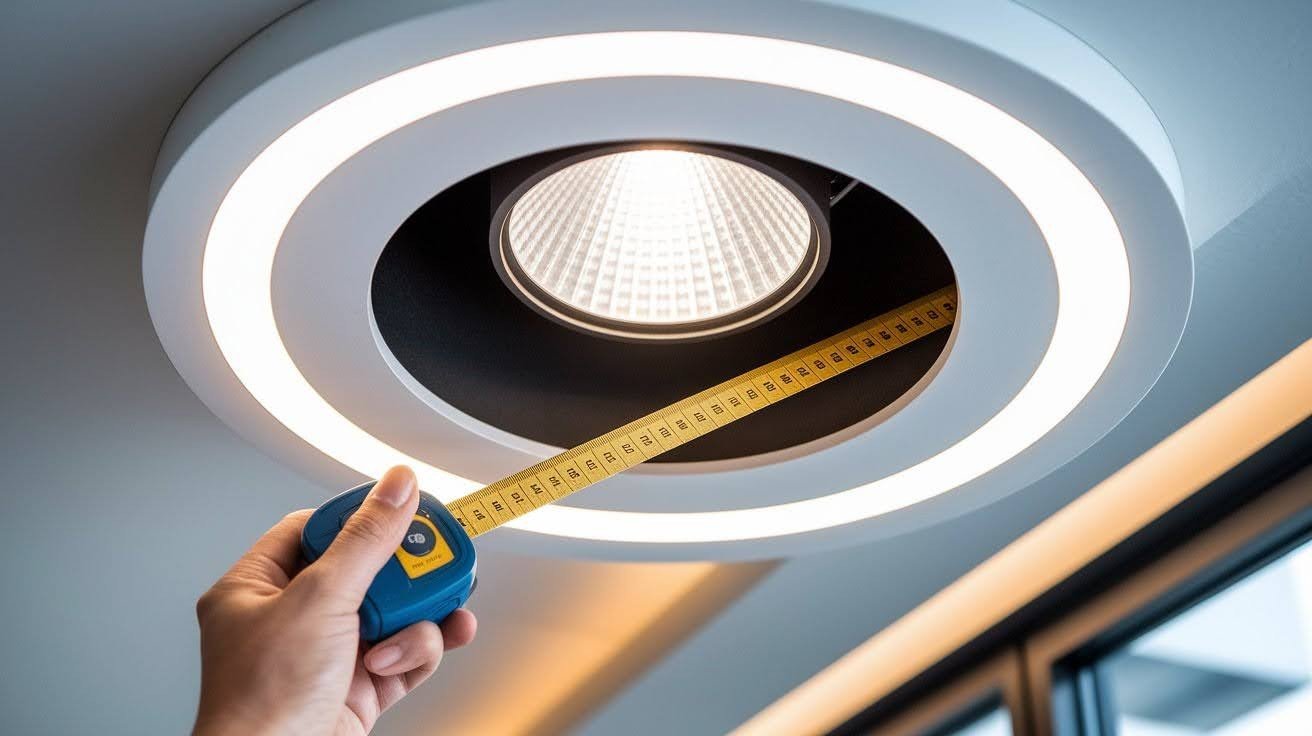
Now you can see the metal housing opening in your ceiling. This circular hole is what you need to measure to know how to measure recessed lighting size correctly.
Place your tape measure across the widest part of the opening. Measure from one inside edge straight across to the opposite inside edge. This gives you the inside diameter.
Don’t measure the outside of the housing or the drywall hole. You want only the inside opening where the light fits. This number tells you your actual light size.
Step 3: Round to Nearest Whole Number

Your measurement probably won’t be exactly 4, 5, or 6 inches. That’s normal with different manufacturers.
If you measure 3.9 inches to 4.2 inches, you have a 4-inch light. Measurements between 4.8 and 5.2 inches mean a 5-inch light. Anything from 5.8 to 6.2 inches is a 6-inch light.
The small differences between brands don’t matter much. Standard replacement lights are designed to work with these slight variations. Just round to the nearest whole number and you’re good to go.
Step 4: Check the Depth of the Housing
Measuring the depth of your recessed light housing helps you choose the right bulb and trim. Some lights need shallow trims, while others can handle deeper ones.
Take your tape measure and carefully measure from the ceiling surface down to the bottom of the housing. This tells you how much space you have for the bulb and trim.
Knowing this depth upfront prevents surprises when you pick a replacement light. I always double-check because even a half-inch can make a difference in how the light sits and shines.
Step 5: Consider the Trim Style and Bulb Type
Once you know the size and depth, think about the trim and bulb you want. Different trims like baffle, reflector, or adjustable can slightly change the overall look and light spread.
Also, check whether your housing is compatible with LED, halogen, or other bulb types. I like to note down the compatible bulb types when measuring, so shopping for replacements is stress-free.
Finally, imagining how the light will look in your space helps a lot. I always visualize the ceiling fully lit with the new trim. This small step ensures I pick a style that feels right for my room.
Supporting Information
Understanding how to measure recessed lighting size includes knowing what the standard sizes mean. Each size works best for different spaces and uses in your home.
4-Inch Recessed Lights
A 4-inch light needs a ceiling cut-out of about 4-3/8 inches. The inside housing diameter measures right around 4 inches when you check it.
These smaller lights work great for accent lighting, task lighting, and general room lighting. Many people use them in hallways, closets, and smaller rooms. They’re also popular in kitchens for focused light over counters.
You’ll find 4-inch lights in tight spaces where larger fixtures won’t fit. They use less energy than bigger lights while still giving plenty of brightness. Modern LED versions are very efficient and last for years.
5-Inch Recessed Lights
The 5-inch size needs a ceiling cut-out of roughly 5-5/8 inches. Inside housing diameter measures close to 5 inches across.
This is actually the least common size in most homes. You won’t see 5-inch lights as often as the other two sizes. However, they work as a middle option between 4-inch and 6-inch fixtures.
Here’s something helpful to know: most LED retrofit kits are made as 5/6-inch compatible. This means one product fits both 5-inch and 6-inch housings. Manufacturers do this because these sizes are close enough in dimension.
6-Inch Recessed Lights
Six-inch lights are the most popular size in homes. They need a ceiling cut-out of about 6-3/8 inches and have an inside housing diameter of roughly 6 inches.
Most living rooms, bedrooms, and dining rooms use 6-inch recessed lights. They give more light coverage than smaller sizes. This makes them perfect for general room lighting and larger spaces.
When people learn how to measure recessed lighting size, they often find they have 6-inch fixtures. These lights balance brightness, coverage, and energy use well.
How to Measure Housing Height and Depth?
The diameter isn’t the only measurement that matters. Housing depth affects what fits in your ceiling and where you can install lights.
Standard vs. Shallow Housing
| Housing Type | Height | Best Use | Ceiling Space Needed | Cost Difference |
| Standard | Taller | New construction, plenty of attic space | 7–8 inches above the ceiling | Usually cheaper |
| Shallow | Shorter | Remodel work, tight spaces | 4–5 inches above the ceiling | Slightly more expensive |
| IC-Rated Standard | Taller | Can touch insulation safely | 7–8 inches above the ceiling | Moderate cost |
| IC-Rated Shallow | Shorter | Limited space with insulation | 4–5 inches above the ceiling | Higher cost |
| Airtight Models | Varies | Energy efficiency, sealed ceiling | Depends on size | Premium pricing |
4-Inch Housing Measurements
Standard 4-inch housings stand about 5-1/2 inches tall. This is the height from the ceiling surface up into the attic or ceiling space.
Shallow 4-inch housings are only about 3-1/2 inches tall. These work in spaces where you don’t have much room above the ceiling. Think about floors with joists close together or rooms under a roof.
When you’re figuring out how to measure recessed lighting size, check your ceiling space too. Shallow housings cost a bit more but solve problems in tight spots.
5-Inch and 6-Inch Housing Measurements
Standard 5-inch and 6-inch housings are about 7-1/2 inches tall. These give you the most options for different bulb types and better heat management.
Shallow versions of these sizes measure roughly 5-1/2 inches tall. They fit in spaces where standard housings won’t work. Many remodel projects use shallow housings because of existing ceiling structures.
Use standard housings when you have an open attic space and room to work. Choose shallow housings when ceiling joists, ductwork, or other obstacles limit your space.
Why Accurate Measurement Matters?
Getting your measurements right from the start saves you real problems down the road. Here’s why knowing how to measure recessed lighting size matters so much.
- Accurate measurements ensure replacement lights fit perfectly, saving time and avoiding returns.
- Correct sizing helps plan new installations, including spacing and the number of fixtures needed.
- Properly sized lights prevent gaps, wobbling, and uneven trim, giving a professional finish.
- Right measurements support optimal light performance and heat dissipation for longer-lasting fixtures.
- Planning with accurate sizes reduces frustration, extra trips, and ensures your project runs smoothly.
Conclusion
Knowing how to measure recessed lighting size seems simpler than most think. Many friends have struggled over this issue, but it’s straightforward once the key steps are known.
Even when common, 4-inch and 5-inch sizes are what most homes use for 6-inch lights. My measurements are in every case double-checked because even a small difference can mean that a replacement does not fit properly.
Measure with care before you, then take your time and buy some new lights. Please trust me when I say that doing this task right at the first try saves you money. Measuring the trim or the drywall hole gives wrong numbers, therefore the effort is wasted.
Frequently Asked Questions
Can I measure recessed light size without removing the trim?
No, you cannot get accurate measurements with trim installed. The trim covers the actual housing opening and gives false readings. Remove the trim first to see the real housing diameter for correct sizing.
What if my measurement falls between two standard sizes?
Round to the nearest standard size of 4, 5, or 6 inches. A measurement of 5.9 inches means you have a 6-inch light. Manufacturers design lights to work with slight variations, so rounding gives you the right size.
Do LED retrofit kits need exact size matching?
Most LED retrofit kits fit multiple sizes. Many are labeled as 5/6-inch compatible, working in both housings. Always check the product specifications, but LED retrofits typically have more flexibility.
How do I know if I need shallow or standard housing?
Measure the space above your ceiling to the nearest obstacle. Standard housings need 7-8 inches of clearance, while shallow housings need only 4-5 inches.
Are all 6-inch recessed lights the same across brands?
No, but they’re close enough to work together. The inside diameter might vary by 1/8 to 1/4 inch between manufacturers. Standard replacement parts fit this range, so mixing brands usually works fine for replacements.