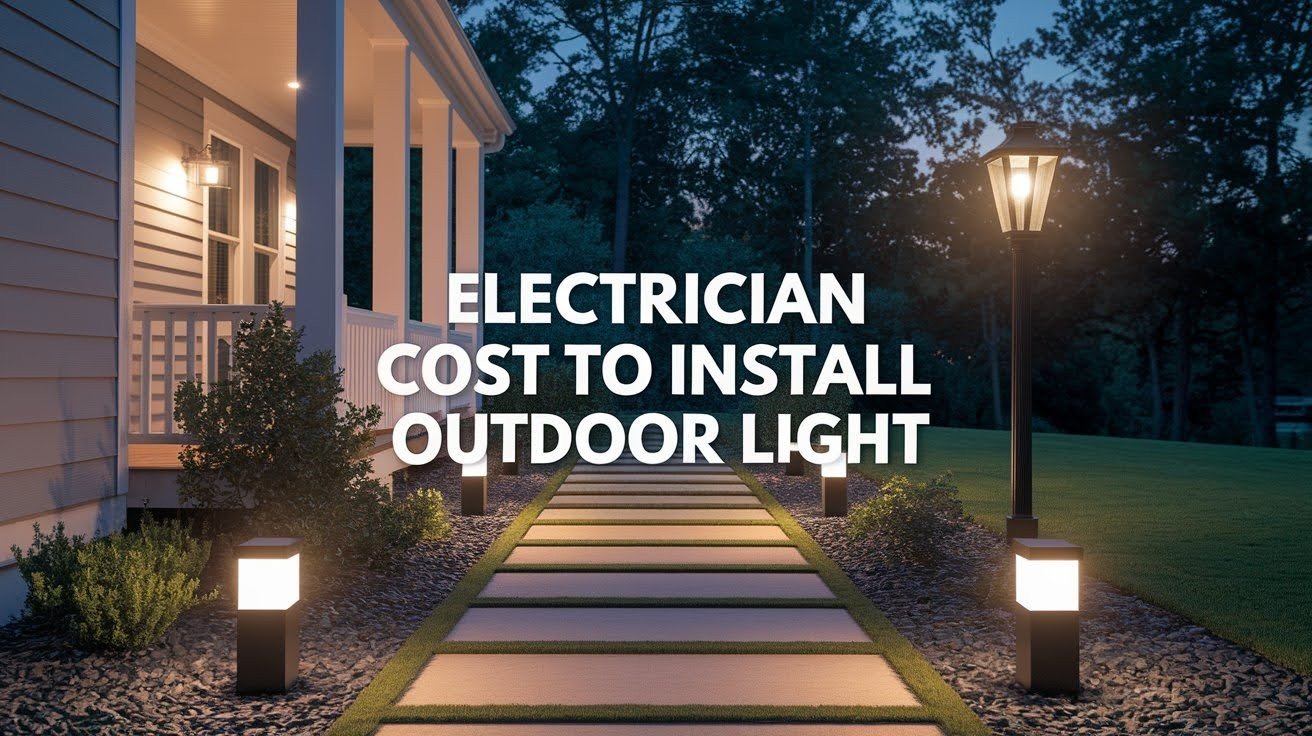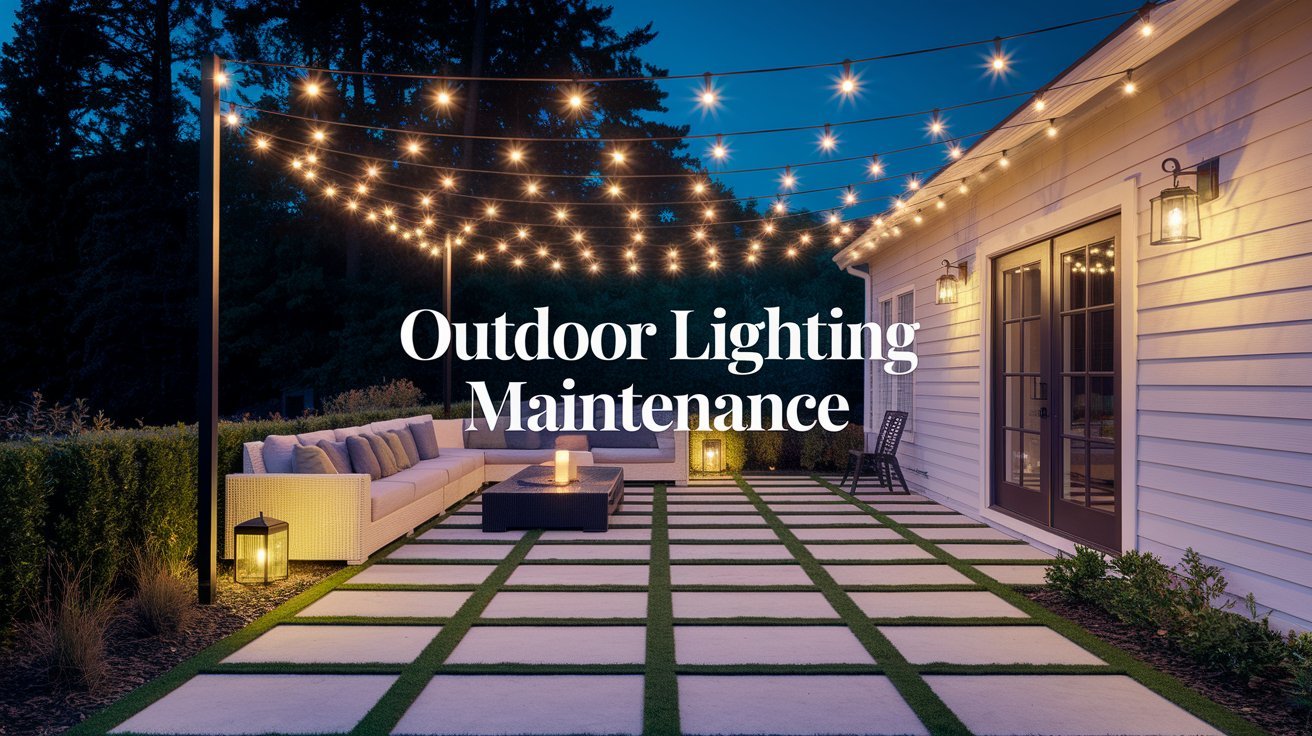
Have you noticed just how fast outdoor lights seem to blow? Others share this experience with you. Most homeowners do not think about outdoor lights until they fail. That usually happens for them.
Good outdoor lighting maintenance does not have to be all that expensive or all that hard. If you make the right moves, your outdoor lights can last many more years and save you money. Spotting problems early, knowing when to do it, and also knowing exactly what to do is what this guide will show.
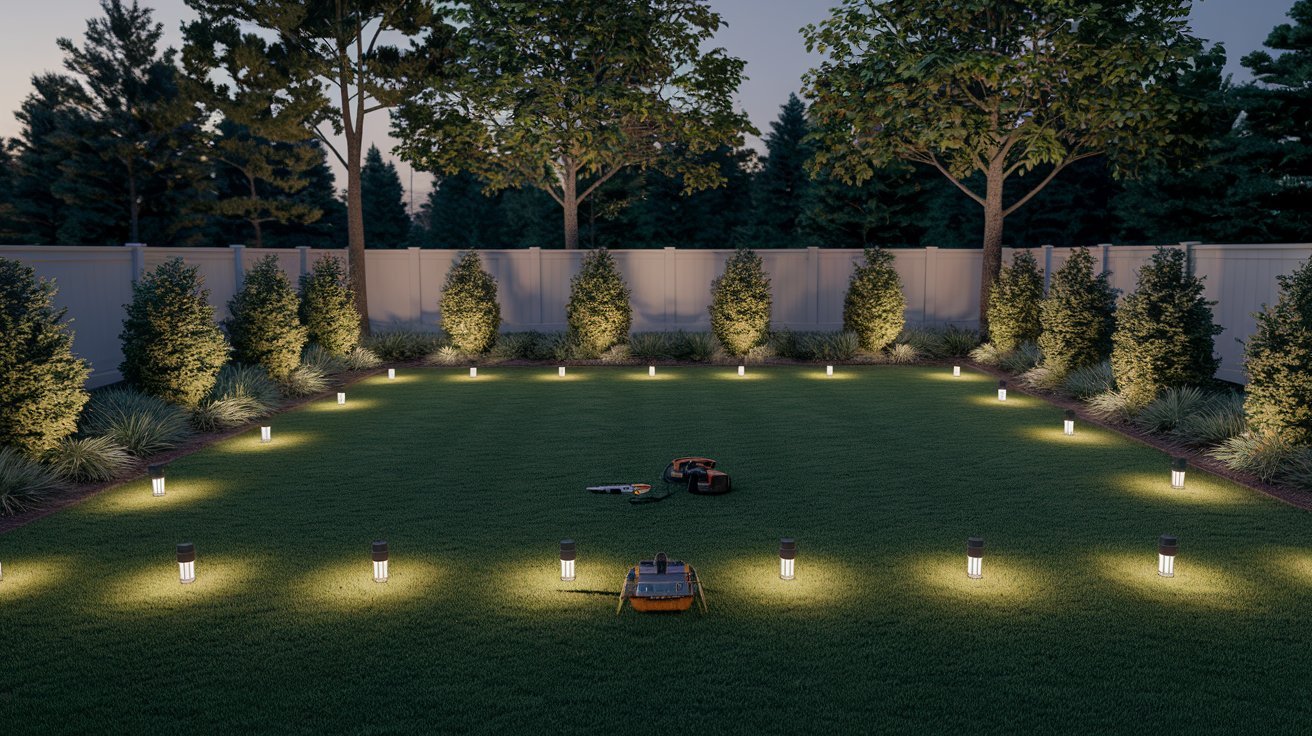
Let us help you get your outdoor lights into working order. We can make them like new once again.
Why Outdoor Lighting Maintenance Matters
Your outdoor lights work hard every single night. They face rain, wind, snow, and blazing sun. Without proper care, they wear out fast.
Money matters too. A light fixture that costs $100 can last 10 years with good care or just 3 years without it. Regular outdoor lighting maintenance cuts your costs by catching small problems before they become expensive repairs.
In this guide, you’ll learn monthly tasks that take just minutes. You’ll see how to fix common problems. And you’ll know when to call a professional. Simple steps now mean brighter, safer lights for years to come.
The Complete Outdoor Lighting Maintenance Checklist
A simple maintenance checklist helps you keep your outdoor lighting bright and reliable all year long with easy, routine tasks.
Inspect Fixtures for Damage
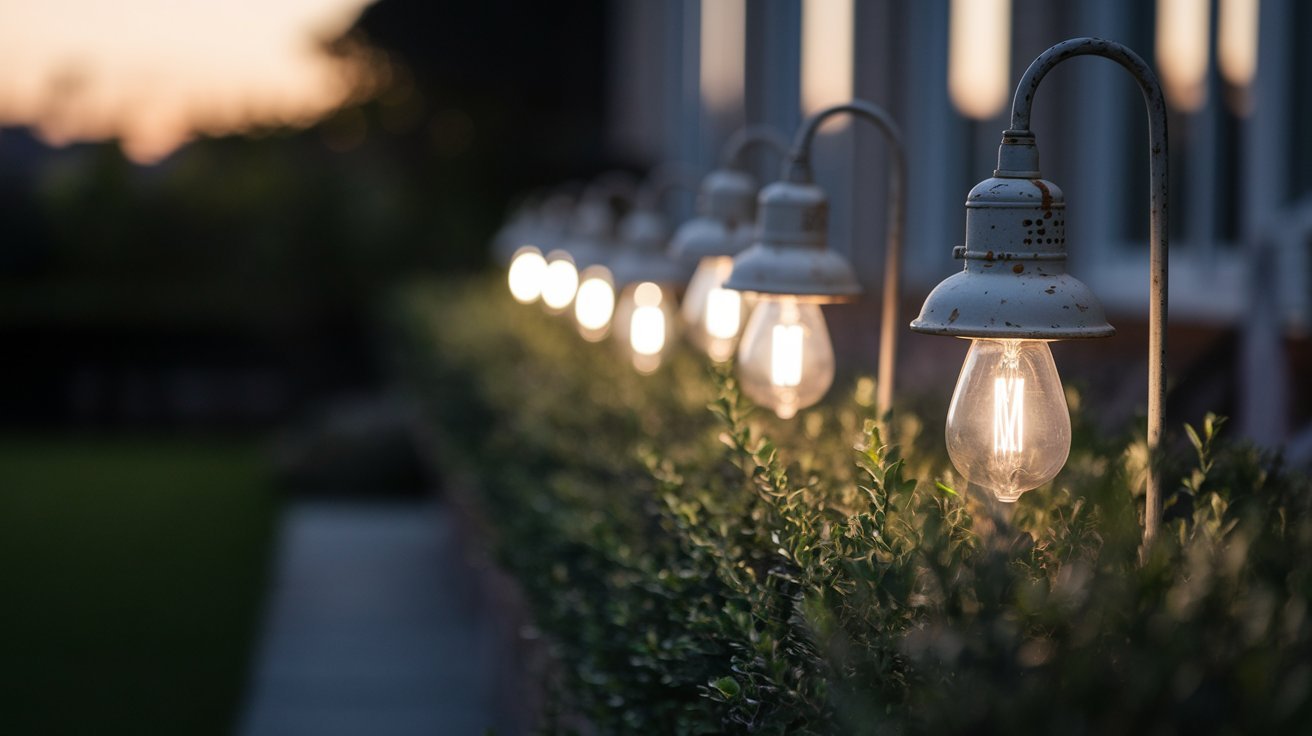
Walk around your property once a month and look at each light. Check for cracks, rust, or loose parts. These small problems can turn into big ones fast.
Pay attention to how the fixture sits. Is it hanging crooked? Does it wobble when you touch it? These signs mean something needs tightening or replacing.
Write down what you find. A quick note on your phone helps you remember which lights need extra attention. Catching damage early saves you money and keeps your lights working longer.
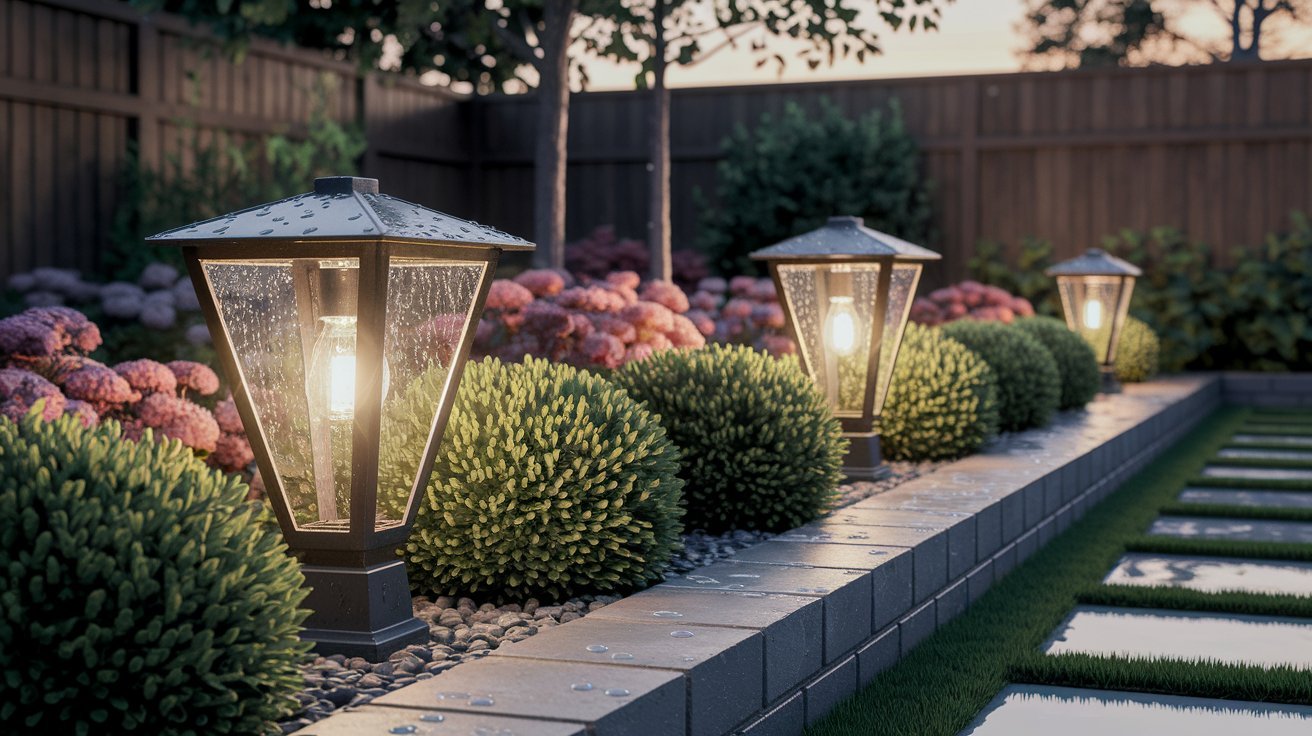
Clean Lenses and Covers

Dirt, pollen, and bugs build up on light covers quickly. This buildup blocks light and makes your yard look dim, even with new bulbs.
Use warm water and mild soap to wipe down each cover. A soft cloth works best. For stubborn dirt, let the soapy water sit for a few minutes before wiping. Avoid harsh chemicals that can scratch or damage the plastic or glass.
Clean covers mean brighter light. You’ll be surprised how much better your outdoor lighting maintenance routine works when the covers are clear. This simple step can make old lights look brand new.
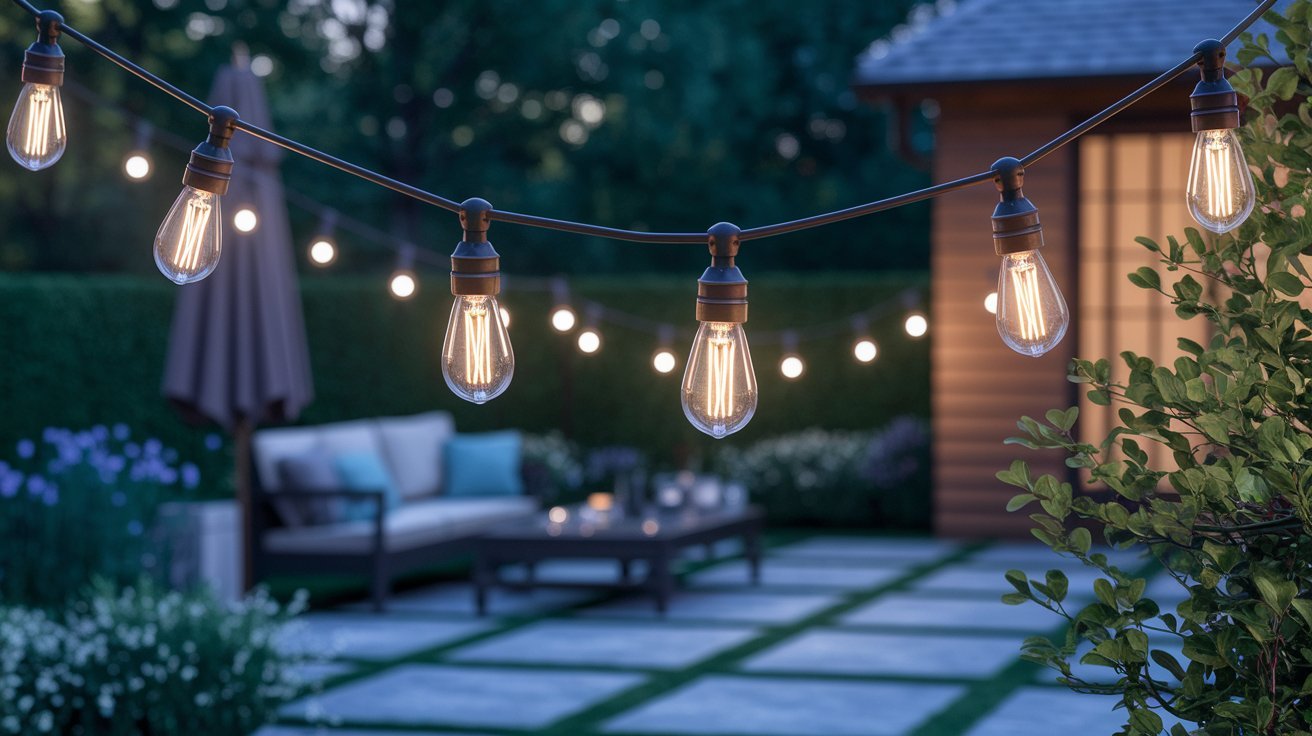
Check and Replace Burnt-Out Bulbs

Dead bulbs are the most common outdoor lighting problem. Check all your lights at night to see which ones aren’t working.
When you replace bulbs, use the right type and wattage. Check the fixture label or your owner’s manual. Using the wrong bulb can damage the fixture or create a fire risk.
Keep spare bulbs on hand. This way, you can fix problems right away instead of waiting days or weeks. LED bulbs last much longer than old-style bulbs and use less electricity, too.
Trim Surrounding Vegetation
Plants grow fast, especially in spring and summer. Branches and leaves can block your lights and create dark spots in your yard.
Cut back any plants that touch or hang over your fixtures. Leave at least 6 inches of space around each light. This prevents damage from rubbing branches and keeps bugs away from the warm bulbs.
Trimmed plants also improve air flow around your lights. Better air flow means less moisture and rust. Your fixtures will last longer when plants aren’t crowding them.
Inspect Wiring and Connections
Look at visible wires for any signs of wear. Check for frayed spots, exposed copper, or places where animals might have chewed through the coating.
Connections can come loose over time. Gently tug on wire connections to make sure they’re secure. Loose connections cause lights to flicker or stop working completely.
If you see any damaged wiring, turn off the power right away. Don’t try to fix electrical problems yourself if you’re not comfortable. Call an electrician for any serious wiring issues.
Test Timers and Motion Sensors
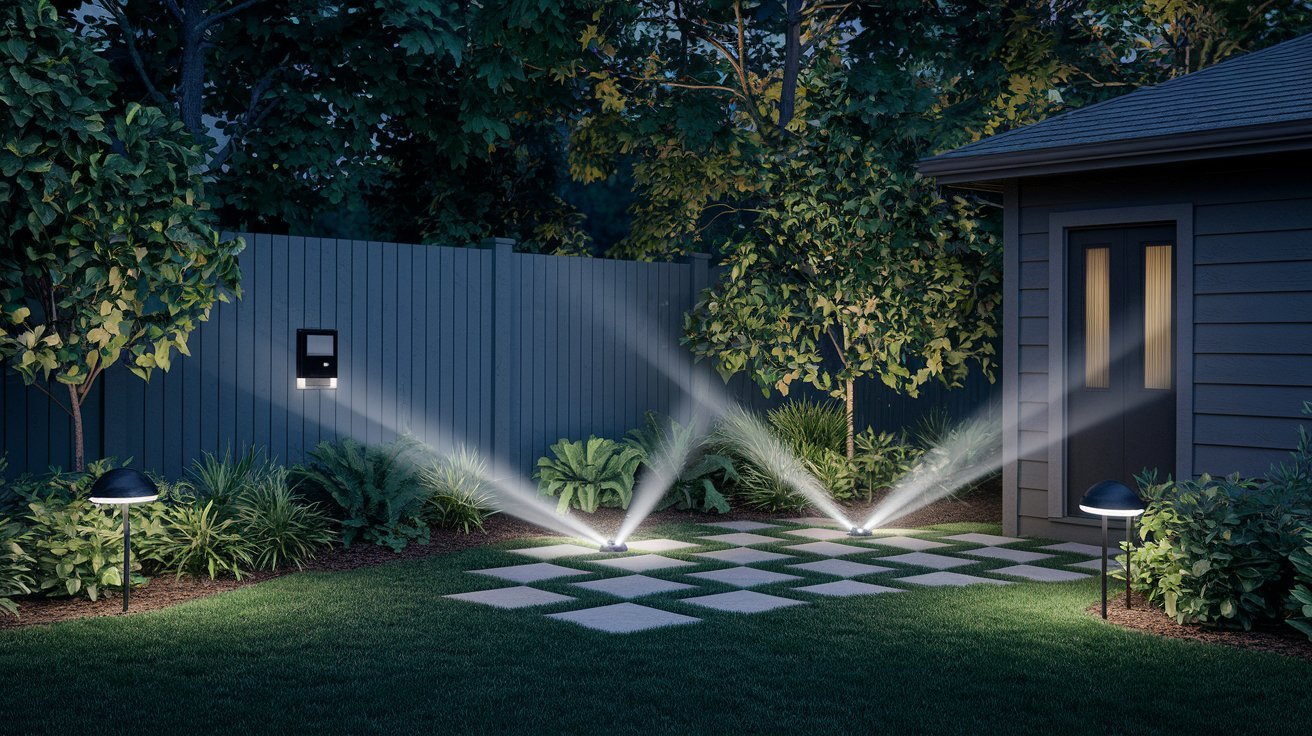
Timers keep your lights running on schedule. But they can drift off time or stop working altogether. Check that your lights turn on and off when they should.
Motion sensors need testing, too. Walk in front of each sensor light to make sure it responds. Adjust the sensitivity if it’s not catching movement or if it’s too sensitive.
Replace batteries in solar lights and battery-powered sensors. Weak batteries, or to miss motion, or fail. Fresh batteries mean reliable performance all year long.
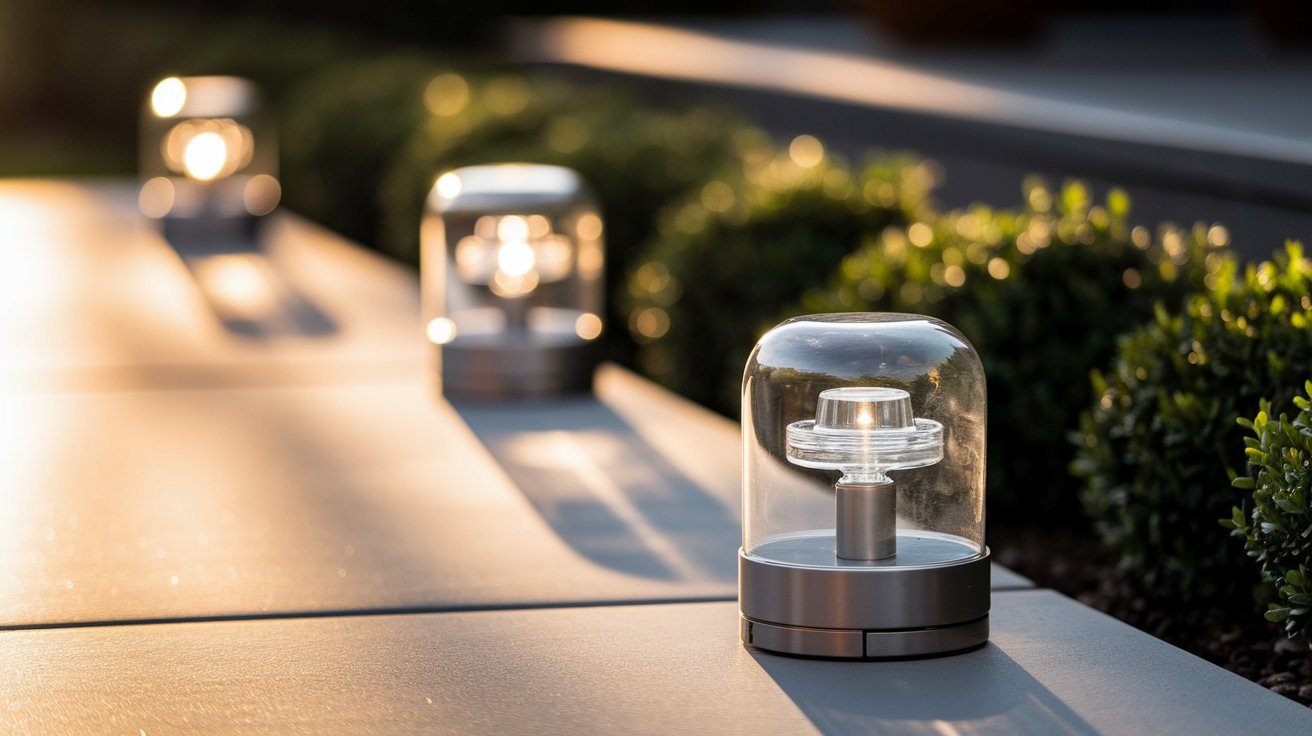
Check Weatherproofing and Seals
Outdoor lights need good seals to keep water out. Look at the rubber gaskets around light covers and where wires enter the fixture.
Cracked or missing seals let moisture inside. This moisture can short out bulbs and corrode metal parts. Replace any damaged seals right away to protect your investment.
Apply clear silicone caulk around edges if you see gaps. This creates a waterproof barrier that lasts for years. Good weatherproofing is key to successful outdoor lighting maintenance.
Adjust Fixture Positioning

Lights can shift over time from wind, bumps, or settling ground. Walk your property at night and note any lights pointing the wrong way.
Adjust spotlights to hit their targets. Make sure path lights aim down at the walkway, not up into people’s eyes. Well-aimed lights work better and look more professional.
Tighten all adjustment screws after repositioning. Loose fixtures will just shift again with the next strkeepind. A few minutes of adjustment keep your lighting exactly where you want it.
Inspect Power Sources
For wired lights, check your outdoor outlets and GFCI breakers. Make sure they’re working properly and not tripping frequently.
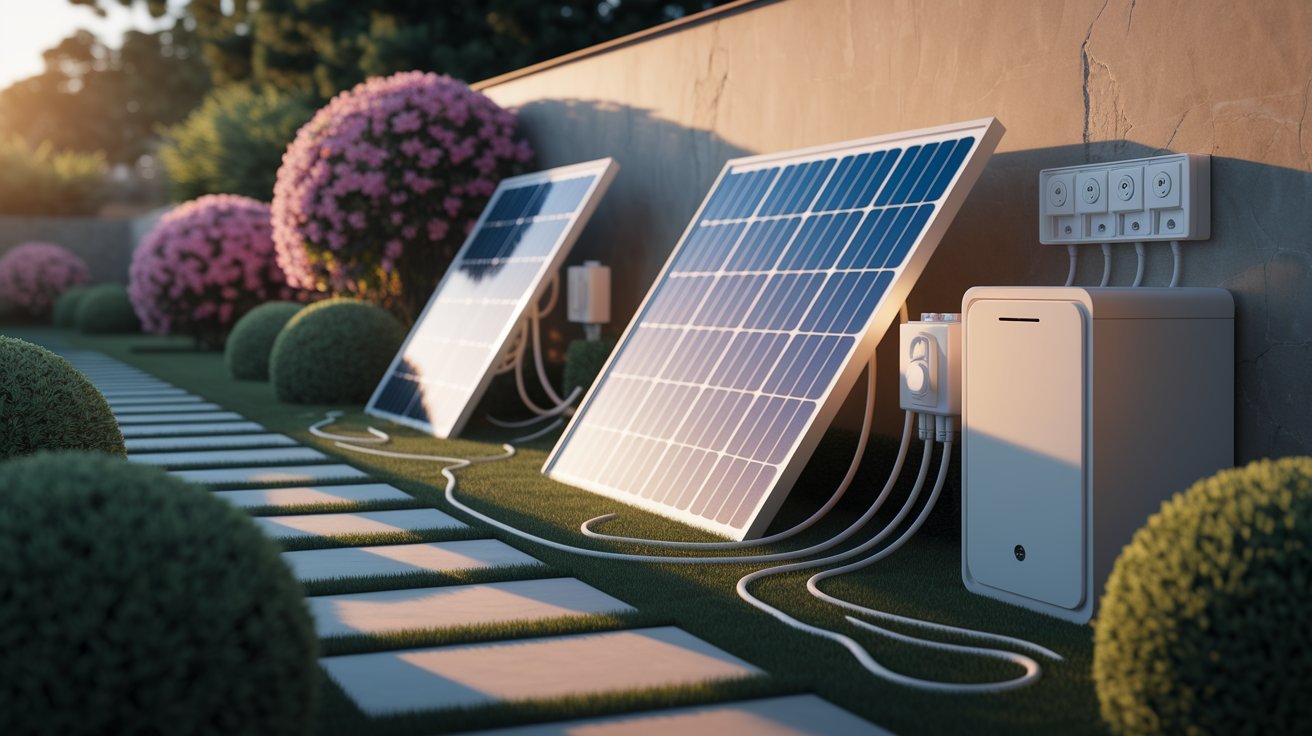
Solar lights need clean panels to charge. Wipe off dirt and debris from solar panels monthly. Even a thin layer of dust can cut charging power by half.
Battery-powered lights need fresh batteries regularly. Keep track of when you last changed batteries. Most outdoor batteries last 3-6 months, depending on use.
Deep Cleaning and Protective Treatments
Twice a year, give your fixtures a thorough cleaning. Remove them if possible and wash all parts with soapy water.
Apply a protective coating to metal fixtures. Car wax works great for this. It creates a barrier against rust and makes future cleaning easier.
Clean out any debris from inside fixtures. Dead bugs, leaves, and dirt collect inside over time. This buildup can cause overheating and shorten bulb life.
Schedule Professional Inspection
Even with great outdoor lighting maintenance, you should have a pro look at your system once a year. They can spot problems you might miss.
Professionals have the right tools to test electrical connections properly. They can check voltage, find hidden shorts, and ensure everything meets safety codes.
Schedule this inspection in early spring before storm season. This gives you time to fix any problems before bad weather hits. A yearly checkup is like insurance for your lighting system.
Evaluate Upgrade Opportunities

Technology changes fast in the lighting world. LED bulbs now use 75% less energy than old bulbs and last 25 times longer.
Look at your oldest fixtures. Are they still working well, or do they need constant repairs? Sometimes replacing old fixtures saves money compared to endless repairs.
Smart lighting controls can save energy and add convenience. Motion sensors, timers, and smartphone controls make your lighting more useful while cutting costs.
Seasonal Considerations

Each season brings different challenges for your outdoor lights. Spring means cleaning up winter damage and checking for rust. Summer requires watching for insect nests inside fixtures.
Fall is the perfect time to prepare for winter. Clean all fixtures, check seals, and make sure everything is tight and secure. Winter means removing snow and ice buildup that can damage fixtures.
Hot weather can make bulbs burn out faster. In very hot climates, consider switching to LED bulbs that handle heat better. Cold weather can make plastic brittle, so handle fixtures carefully in winter.
Detailed Maintenance Procedures
Now, let’s look deeper into specific outdoor lighting maintenance tasks. These step-by-step instructions will help you handle each job with confidence.
How to Inspect Your Outdoor Light Fixtures
Begin your inspection during daylight hours when visibility is clear. Bring a notepad to write down issues. Check each fixture systematically so you don’t miss anything.
Look at the fixture body first. Run your hand over the surface, feeling for rough spots that indicate rust. Check mounting brackets for looseness. Give the fixture a gentle shake to test stability.
Examine the glass or plastic cover carefully. Hold it up to the light to spot small cracks. Even tiny cracks can let water inside. Check how the cover attaches and make sure the clips or screws are secure.
Replacing Outdoor Light Bulbs
Always turn off the power before changing bulbs. Let bulbs cool completely if they were recently on. Hot bulbs can burn your fingers and crack if touched.
Remove the old bulb carefully. If it’s stuck, don’t force it. Use a bulb changer tool or wrap the bulb in a cloth for a better grip. Forcing a stuck bulb can break the fixture.
Install the new bulb firmly but gently. Over-tightening can crack the bulb base. Under-tightening causes flickering and poor contact. Screw it in until snug, then stop. Test the light before closing up the fixture.
Inspecting and Maintaining Outdoor Lighting Wiring
Turn off the power at the breaker before touching any wires. Use a voltage tester to confirm power is really off. Never assume a switch alone has killed all power.
Look for signs of wire damage like discoloration, melting, or exposed copper. Check wire nuts and connectors for tightness. Loose connections heat up and can start fires.
Protect exposed wires with electrical tape and waterproof wire connectors. Bury any ground-level wires deeper to prevent damage from lawn equipment. Consider running wires through conduit for extra protection.
Managing Vegetation Around Outdoor Lights
Create a maintenance zone around each fixture. Keep this area clear of plants that could touch the light. A 6-inch clearance works for most fixtures.
Trim plants before they reach the fixture. Waiting until branches are rubbing against the light means you’re too late. Regular small trims beat occasional major cutting.
Choose plants carefully when landscaping near lights. Pick slow-growing varieties that won’t constantly need cutting back. Consider the mature size of plants, not just how they look when planted.
Testing Timers and Motion Sensors
Check timer settings monthly. Power outages can reset timers to the wrong times. Seasonal time changes need manual adjustment on most timers.
Test motion sensors by walking through their detection zone. The light should turn on within seconds. If it doesn’t, clean the sensor lens and check the settings.
Adjust sensitivity and duration settings as needed. Too sensitive means the lights turn on for every leaf that blows by. Not sensitive enough means missing real movement. Find the sweet spot through testing.
Weatherproofing and Protecting Fixtures
Good weatherproofing starts with quality fixtures. Look for fixtures rated for outdoor use with proper IP ratings. The higher the IP number, the better the weather protection.
Apply silicone caulk around seams where water might enter. Use clear silicone meant for outdoor use. Run a thin, smooth bead and wipe away excess with a damp finger.
Replace rubber gaskets every few years. They dry out and crack over time. New gaskets cost little but add years to your fixture’s life. This is essential outdoor lighting maintenance.
Common Problems and Solutions
Even the best outdoor lighting setups can face a few common issues over time. Here’s how to spot them early and fix them easily
- Causes of Premature Burnout: Voltage spikes damage bulbs. Poor ventilation causes overheating. Using the wrong wattage bulbs shortens life. Install surge protectors and use the correct bulbs.
- Prevention Strategies: Regular cleaning prevents overheating. Proper seals keep moisture out. Quality bulbs last longer than cheap ones. Consistent outdoor lighting maintenance stops most problems.
- When It Signals Bigger Problems: Frequent burnouts mean electrical issues. Multiple lights failing together suggest power supply problems. Flickering indicates loose connections. Call an electrician for these signs.
- How Wildlife Affects Outdoor Lighting: Birds build nests in fixtures. Insects are drawn to light and heat. Squirrels chew wiring. Use fixture guards and keep areas clean to reduce problems.
- Pest-Proofing Your Fixtures: Install mesh screens over openings. Clean fixtures regularly to remove bug debris. Use yellow or LED bulbs that attract fewer insects. Seal all gaps and holes.
- Balancing Landscaping With Lighting Needs: Plant away from fixtures. Choose appropriate plant types. Growth plan. Good design considers both beauty and function without compromise.
- Identifying Electrical Issues: Buzzing sounds mean loose connections. Burning smells signal overheating. Tripping breakers show overload or shorts. These need immediate professional attention.
- Repair vs. Replacement Decisions: Repair if the fixture is less than 5 years old. Replace if repairs cost more than 50% of the new fixture price. Consider energy savings from newer models.
- Working Safely With Outdoor Wiring: Always turn off power first. Use proper tools. Don’t work in wet conditions. Know your limits and call professionals when needed.
- Early Warning Signs: Dimming lights suggest power issues. Rust spots mean seal failure. Loose parts will get worse. Address these problems quickly during your outdoor lighting maintenance routine.
- Treatment Methods: Clean rust with a wire brush and apply rust converter. Tighten all connections. Replace damaged parts promptly. Prevention is easier than a cure.
- Long-Term Prevention: Quality fixtures last longer. Regular maintenance catches problems early. Proper installation reduces future issues. Think long-term when making decisions.
Conclusion
A complete outdoor lighting maintenance plan can now be yours. Check fixtures monthly. Clean lenses regularly. Replace bulbs promptly. These steps keep your lights working well for years.
Safety improves from maintenance, and money is saved through it. Your lights will shine brighter and last longer. Additionally, you will catch small problems prior to expensive repairs.
Simply schedule that which works for you. Employ your phone’s reminder function now. In each month, you must check the lights on that same day. Make it a habit, it turns easy. Begin with your needed maintenance routine for outdoor lighting as of today.
Frequently Asked Questions
How Often Should I Perform Outdoor Lighting Maintenance?
Check your outdoor lights monthly for basic issues like burnt bulbs and dirt. Do a deep cleaning twice per year. Schedule a professional inspection annually. This schedule keeps the lights working well without taking too much time.
What Are the Most Common Outdoor Lighting Problems?
Burnt-out bulbs top the list of problems. Dirty lenses reduce brightness significantly. Loose connections cause flickering. Moisture damage from bad seals ruins fixtures. Regular outdoor lighting maintenance prevents most of these common issues from happening.
Can I Do Outdoor Lighting Maintenance Myself?
Yes, most outdoor lighting maintenance tasks are DIY-friendly. You can clean fixtures, replace bulbs, and trim plants easily. However, call an electrician for wiring repairs or electrical problems. Safety comes first with any electrical work.
How Long Should Outdoor Light Fixtures Last?
Quality outdoor fixtures last 10-15 years with good care. Cheap fixtures might last only 3-5 years. LED bulbs can last 25,000 hours or more. Regular maintenance extends fixture life significantly, making your investment last much longer.
When Should I Replace Instead of Repairing Outdoor Lights?
Replace fixtures older than 10 years or damaged beyond simple repairs. If repair costs exceed 50% of replacement cost, buy new. Also, replacing when upgrading to more efficient LED technology saves significant energy costs over time.