Good lighting can do a lot in a kitchen. Good lighting offers light for cooking. It can create an inviting space. Small dark corners caused by poor lighting make small kitchens feel cold and uninviting.
A bigger question is where to place recessed lights in a kitchen, and again, you have to consider cook centers, the bright spots in the kitchen, and the overall mood.
Learn how to install recessed lighting in a kitchen, the spacing of recessed lights in a kitchen, the number of recessed lights required in a kitchen, and the do’s and don’ts of recessed lighting installation in kitchens.
Important Guidelines for Kitchen Recessed Lighting Placement
Let me walk you through the basic rules that make kitchen lighting work right.
Basic Spacing Rules
Start with a simple formula: take your ceiling height and divide it by two. That number tells you how far apart to space your lights. For an 8-foot ceiling, place lights 4 feet apart.
Keep general lighting fixtures 3 to 4 feet away from each other. This creates even light across your ceiling without dark patches between fixtures. Too close together wastes electricity and creates harsh, bright spots.
Stick to this spacing rule as your starting point. You can adjust slightly based on your room size and what feels right, but this formula gives you a solid foundation.
How Many Recessed Lights Does Your Kitchen Need?
Most kitchens need about 4 to 6 recessed lights for every 100 square feet of space. A 200-square-foot kitchen typically needs 8 to 12 lights total. This count includes all your lighting types working together.
Your specific number depends on your kitchen size and how much natural light comes through the windows. A kitchen with big windows needs fewer ceiling lights than one with small or no windows.
Start with fewer lights than you think you need. You can always add more later, but removing extra holes in your ceiling is expensive and messy.
Strategic Placement Zones
For countertops and work areas, place your lights 18 to 24 inches away from the wall. This position puts light right where you chop, mix, and prep food without shadows blocking your view.
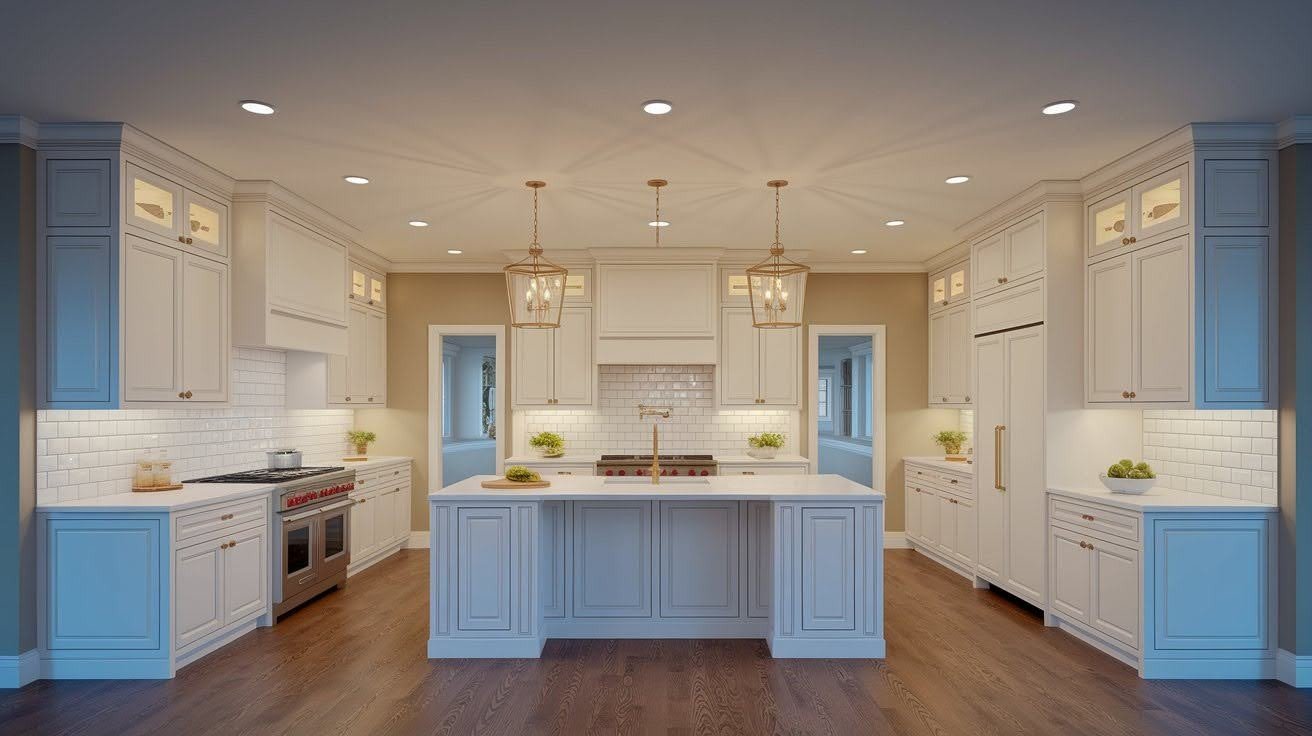
Kitchen islands need 2 to 3 lights spaced evenly along the length. The proper placement of recessed lighting in kitchen islands means centering them over the island and keeping an equal distance between each fixture.
Put one light directly over your sink for clear task lighting. Space additional lights around the edges of your kitchen to create even background lighting throughout the room.
Advanced Placement Strategies for Different Kitchen Layouts
Different kitchen shapes need different lighting approaches for the proper placement of recessed lighting in kitchen spaces.
L-Shaped Kitchens
L-shaped kitchens have a tricky corner where two walls meet. This corner gets dark easily, so focus extra attention on lighting this area well.
Create two separate lighting zones – one for each leg of the L shape. This approach gives you better control and more even light distribution across both sections.
Add at least one fixture aimed at the corner to prevent that dark, dead zone where walls meet. This small addition makes a big difference in overall brightness.
U-Shaped Kitchens
Spread your lights evenly across all three walls of the U shape. This creates balanced lighting that reaches every counter and cabinet without leaving gaps.
If your U-shaped kitchen includes a center island, add dedicated lighting for it too. The proper placement of recessed lighting in kitchen islands means treating them as a separate zone.
Make sure the light coverage stays consistent from one end of the U to the other. Walk through your kitchen and check that no spots feel darker than others.
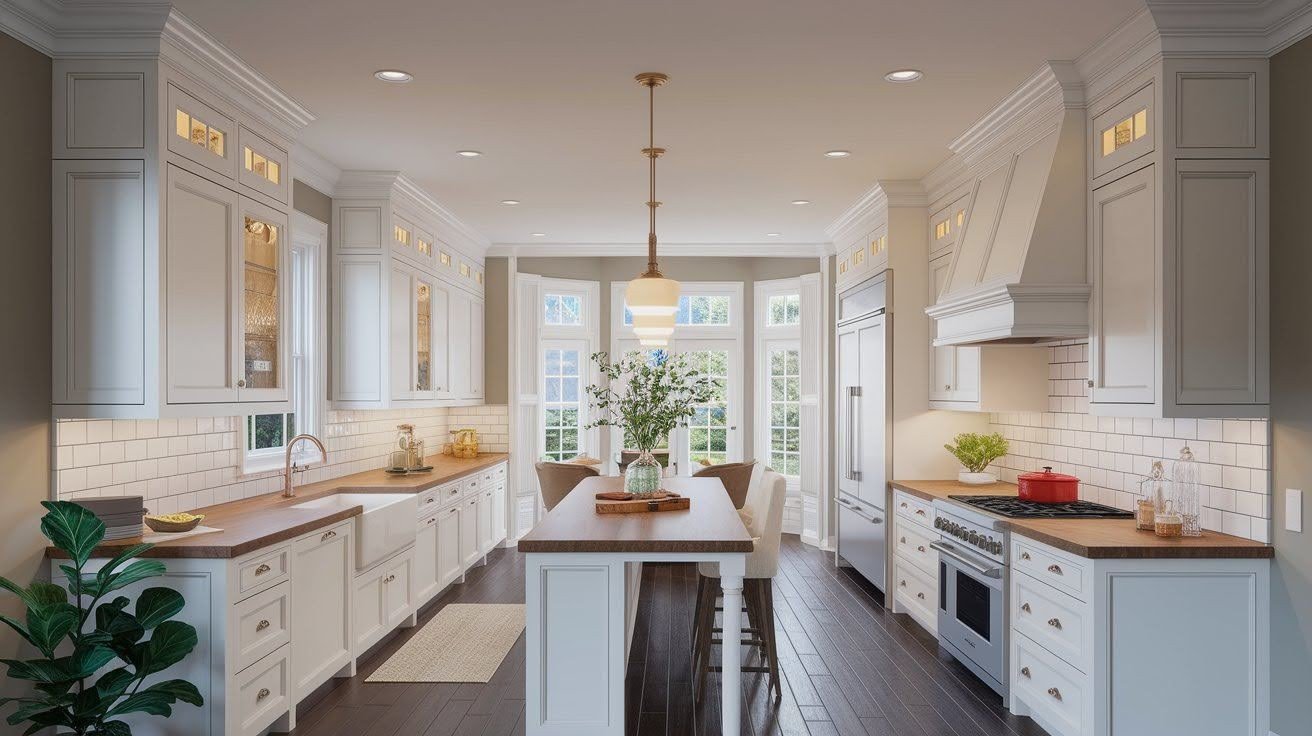
Galley Kitchens
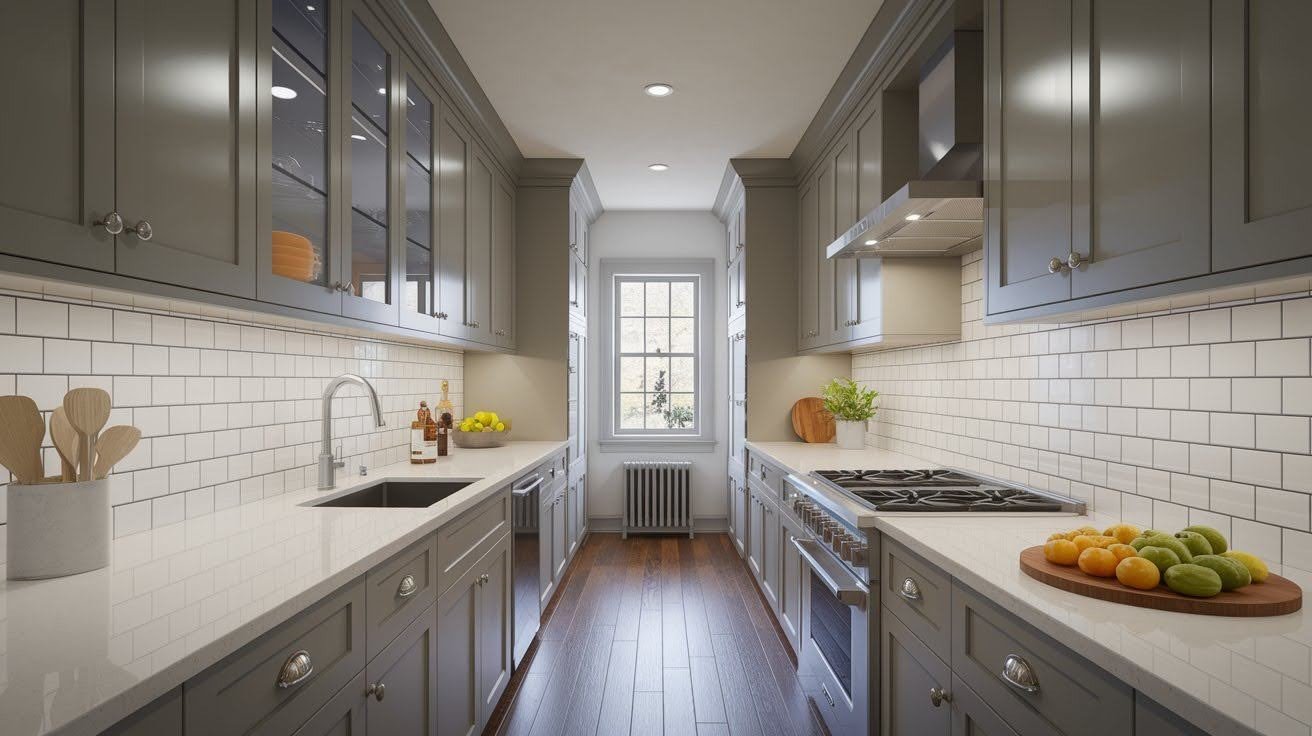
Set up two parallel lines of lights running down the length of your galley kitchen. This creates even lighting along both sides where you work.
Space lights evenly from one end to the other. The narrow width of galley kitchens means you might need lights closer together than the standard spacing formula suggests.
Account for the tight width when calculating spacing. Two rows of lights work better than one center row in most galley layouts.
Open-Concept Kitchens
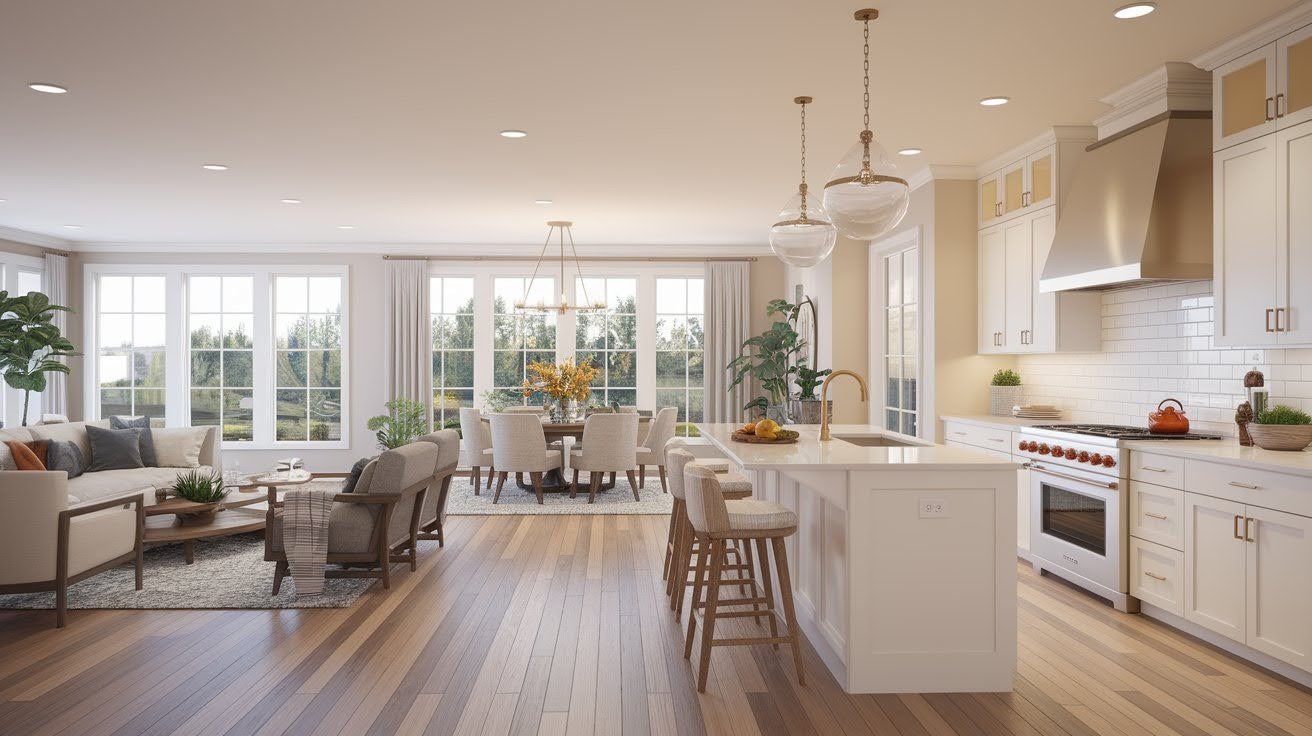
Use your lighting to define where the kitchen zone begins and ends. This helps create visual separation even without walls between spaces.
Match your kitchen lighting with lights in adjacent living or dining areas. The whole space should feel connected but still show clear zones for different activities.
Add dimmer switches so you can change brightness for different activities. Bright light for cooking, softer light for entertaining or watching TV nearby.
Kitchen Lighting Types
Your kitchen needs three different kinds of lighting working together to look and function at its best.
General (Ambient) Lighting
This is your main lighting that fills the whole room. General lighting creates a comfortable base level so you can move around safely and see everything clearly.
Think of ambient lighting as the foundation of your lighting plan. It handles everyday activities like walking through your kitchen, grabbing a snack, or chatting with family while someone cooks.
These lights stay on most of the time. They should be bright enough for comfort but not so bright that they hurt your eyes or feel harsh.
Task Lighting
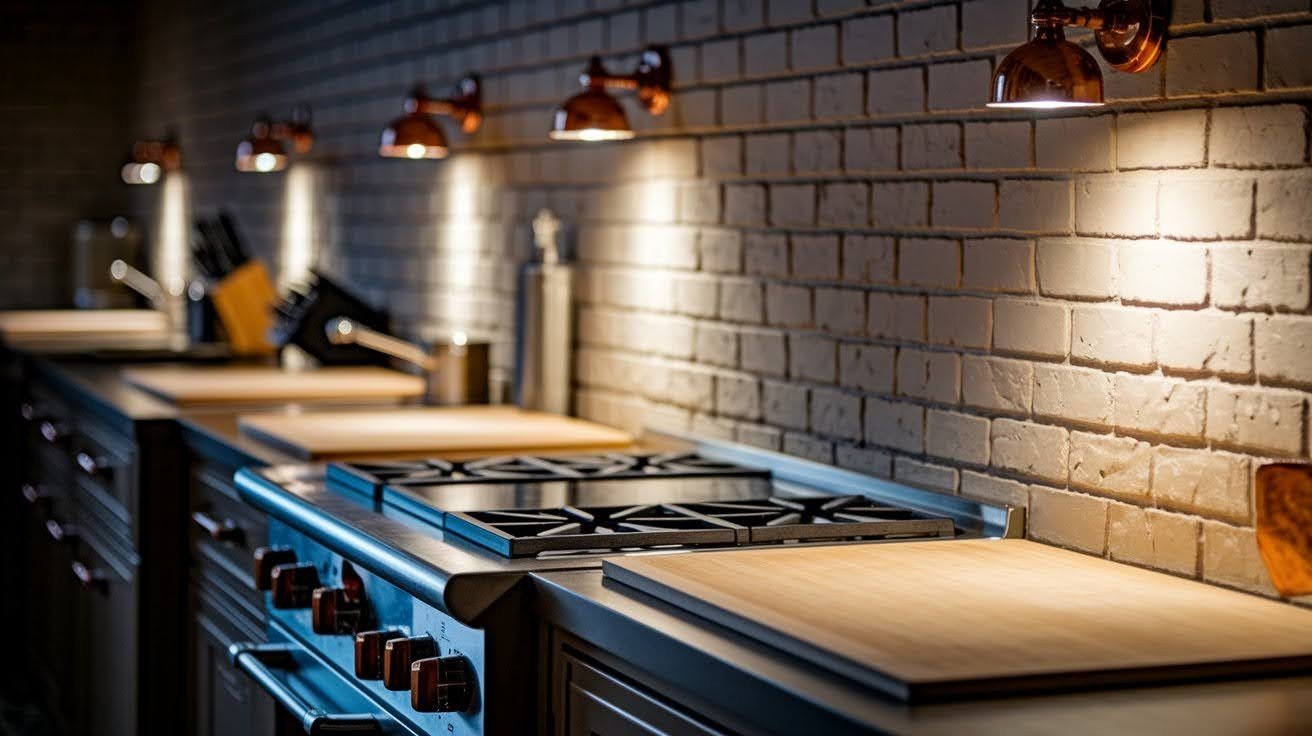
Task lighting gives you extra bright, focused light exactly where you work. These lights help you see clearly when chopping vegetables, reading recipes, or checking if your food is cooked properly.
The proper placement of recessed lighting in kitchen work zones prevents shadows on cutting boards and stovetops. Position task lights directly above these areas so your body doesn’t block the light when you lean over.
Make task lighting brighter than your general lighting. You need this extra brightness for detailed work and safety while using sharp knives or hot pans.
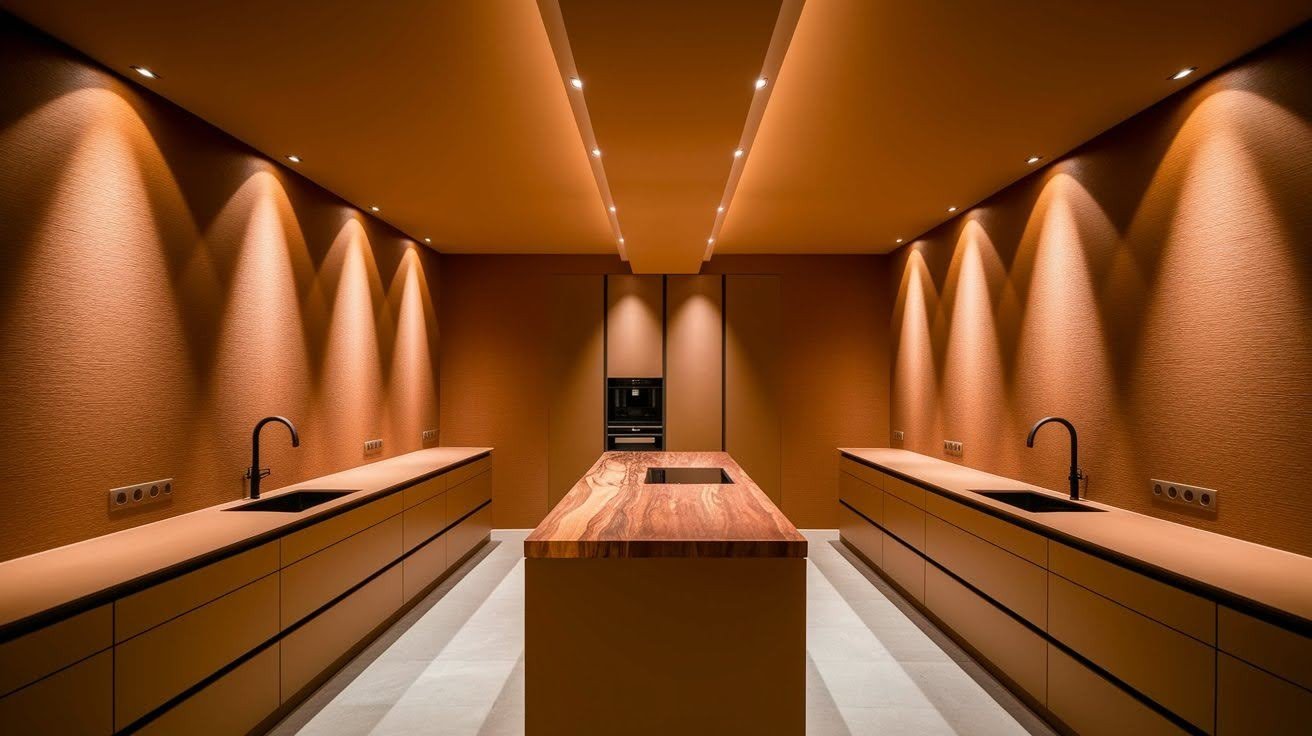
Accent Lighting
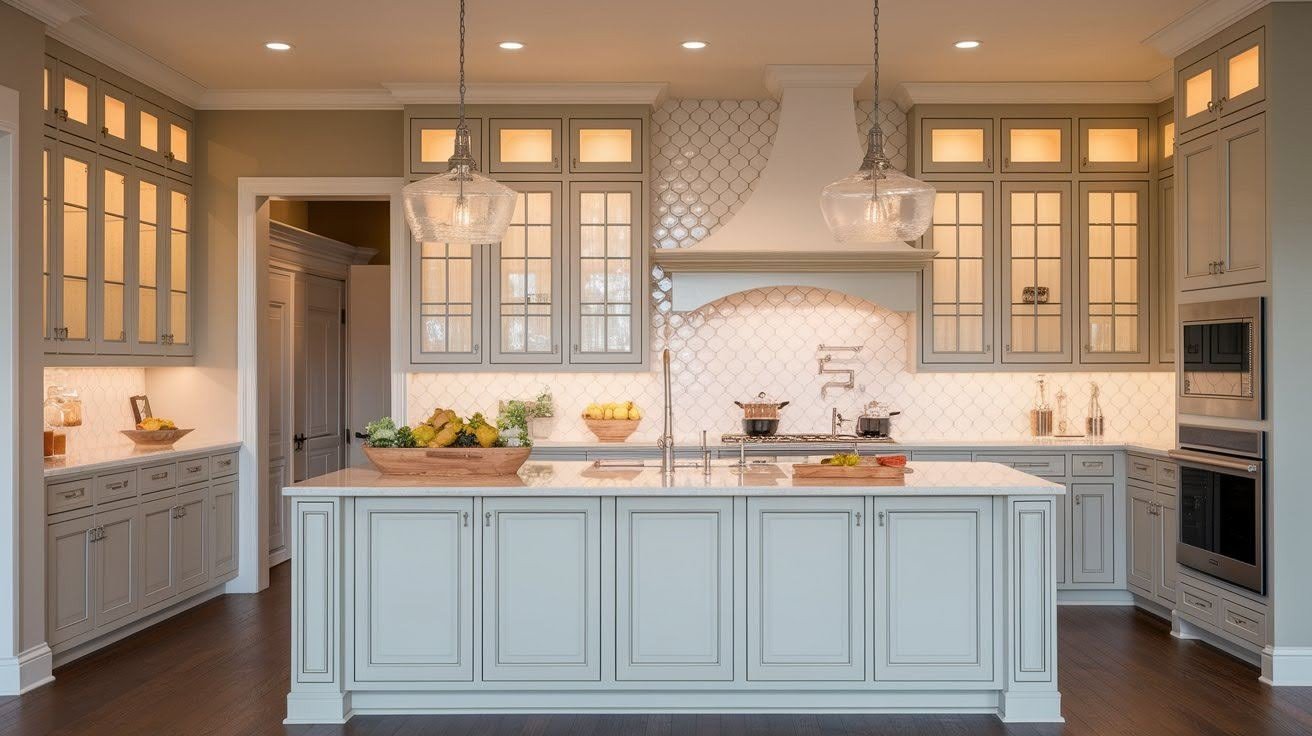
Accent lights highlight special features in your kitchen like glass cabinets, artwork, or interesting architectural details. These lights add depth and make your kitchen more interesting to look at.
Use accent lighting carefully and sparingly. Too many accent lights make your kitchen feel busy and confusing instead of attractive and well-designed.
Think of accent lights as the finishing touch, not the main feature. They work best when they draw your eye to one or two key spots rather than lighting up everything.
Common Recessed Lighting Mistakes to Avoid
Learning from other people’s mistakes saves you time, money, and frustration with your own lighting project.
- Proper spacing avoids harsh shadows and glare: Keep lights at least 3 feet apart and away from reflective surfaces.
- Use the right color temperature: Aim for 2700K-3000K to make the kitchen look natural and welcoming.
- Avoid overlighting or underlighting: Follow spacing guidelines to ensure balanced, comfortable illumination.
- Install dimmers for flexibility: Adjust brightness for different tasks and times of day.
- Plan carefully before installation: Measure your kitchen, consider obstacles, and map out general, task, and accent lighting.
Installation Considerations and Professional Tips
Here’s what you need to know before starting your installation project:
- Retrofit installations work in existing ceilings and are usually simpler for homeowners
- New construction gives you more options since walls are open and wiring is easier to run
- Plan carefully for retrofits since you’re limited by the existing ceiling structure
- Most electrical work needs a licensed electrician for safety and code compliance
- Check your local building codes before starting any electrical project
Conclusion
Regarding recessed kitchen lights, refer to the spacing guide and keep in mind how you plan to use the space. Try to leave gaps that measure 3 to 4 feet. This depends upon your ceiling height. Your work needs a little extra light. You’ll want that.
Carefully plan your kitchen before moving in. Take measurements of the space, then note where the fixtures go. Plan general, task, and accent lighting. A good lighting plan prevents costly mistakes in addition to giving
Plan your kitchen lighting. Take out the measuring tape and mark the kitchen, then think carefully about light placement. You choose the placement for your kitchen recessed lighting, this design element is permanent.
Frequently Asked Questions
How far apart should recessed lights be in a kitchen?
Space your recessed lights 3 to 4 feet apart for general lighting. Use the formula of half your ceiling height to find the right spacing. For example, an 8-foot ceiling needs lights placed 4 feet apart for even coverage.
What size recessed lights are best for kitchens?
Most kitchens use 4-inch or 6-inch recessed lights. Four-inch fixtures work well for task lighting and smaller kitchens. Six-inch lights provide more general illumination and work better in larger kitchen spaces with higher ceilings.
Should recessed lights be symmetrical in a kitchen?
Symmetrical placement looks cleaner and creates more balanced light distribution. However, function matters more than perfect symmetry. Place lights where you need them most, then adjust surrounding fixtures to create a pleasing pattern that works well.
Can you have too many recessed lights in a kitchen?
Yes, too many lights create harsh, uncomfortable glare and waste energy. Follow the guideline of 4 to 6 lights per 100 square feet. Install dimmer switches so you can control brightness levels for different activities and times of day.
How far from the wall should recessed lights be placed?
Place recessed lights 18 to 24 inches from the wall for proper counter illumination. This distance puts light where you work without creating harsh shadows. Adjust slightly based on cabinet depth and ceiling height for best results.