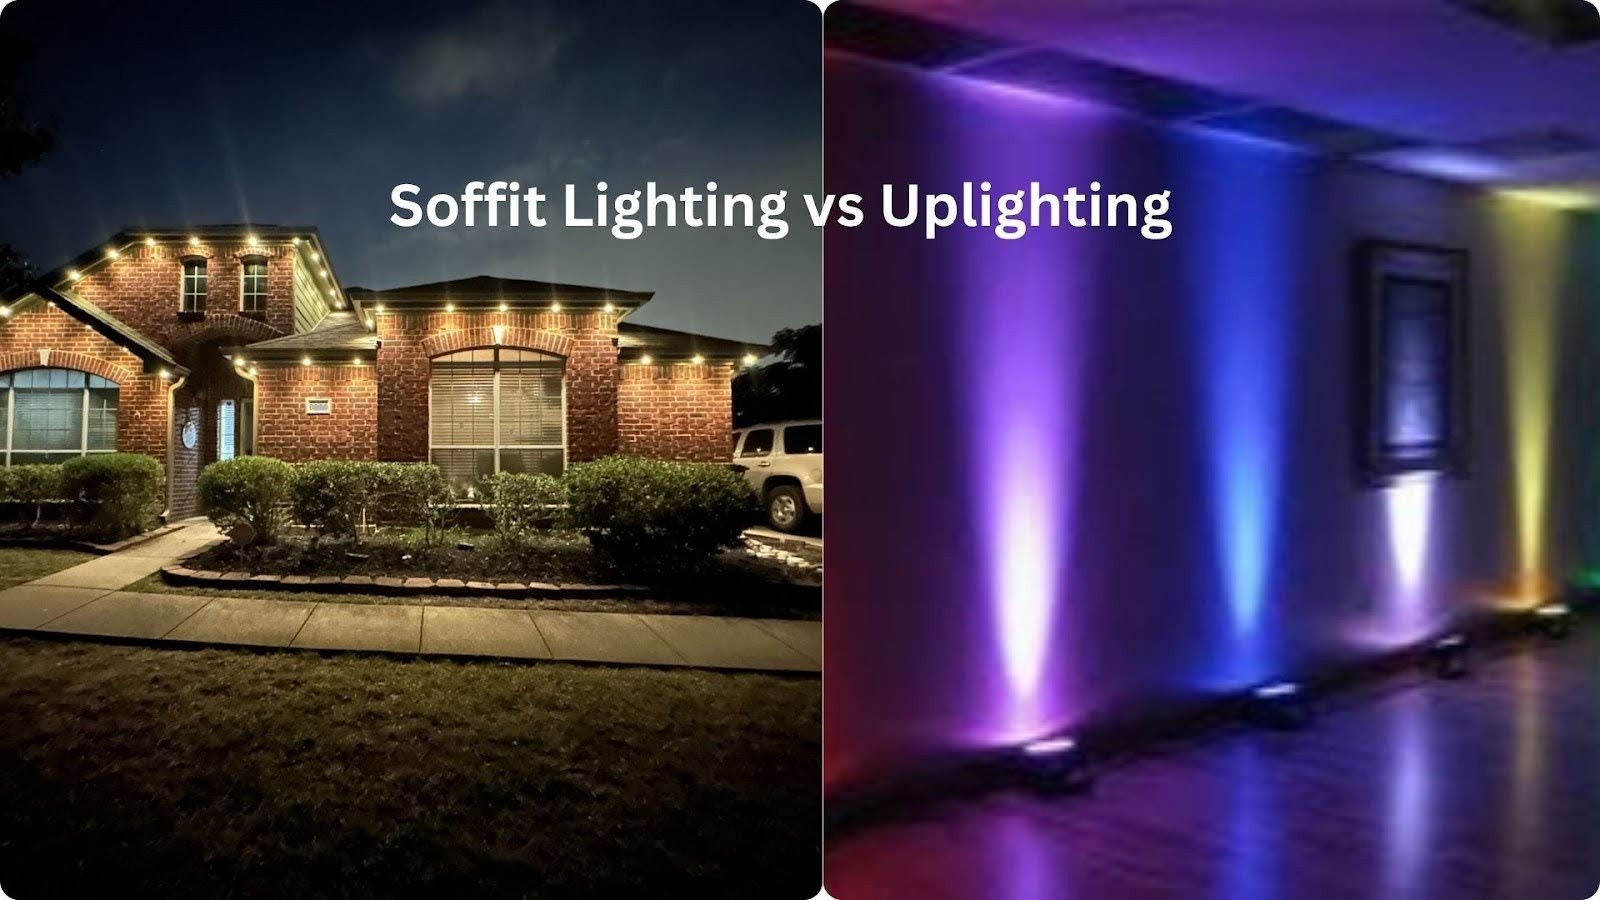
Have you ever seen a house at night and wondered why some looked so cozy during the night, while others blended into the night? Uplighting is a smart answer. Outdoor lighting can transform a house’s front. The lights can turn an ordinary-looking house into a real showstopper that neighbors will admire.
This guide will explain where uplighting front-of-house lighting is best placed, plus what lighting professionals believe the best positions and distances are, as well as what features are best to illuminate.
From your front door to your flower beds, we’ll light up every space so that you’ll never again wonder how to light up your home’s exterior.
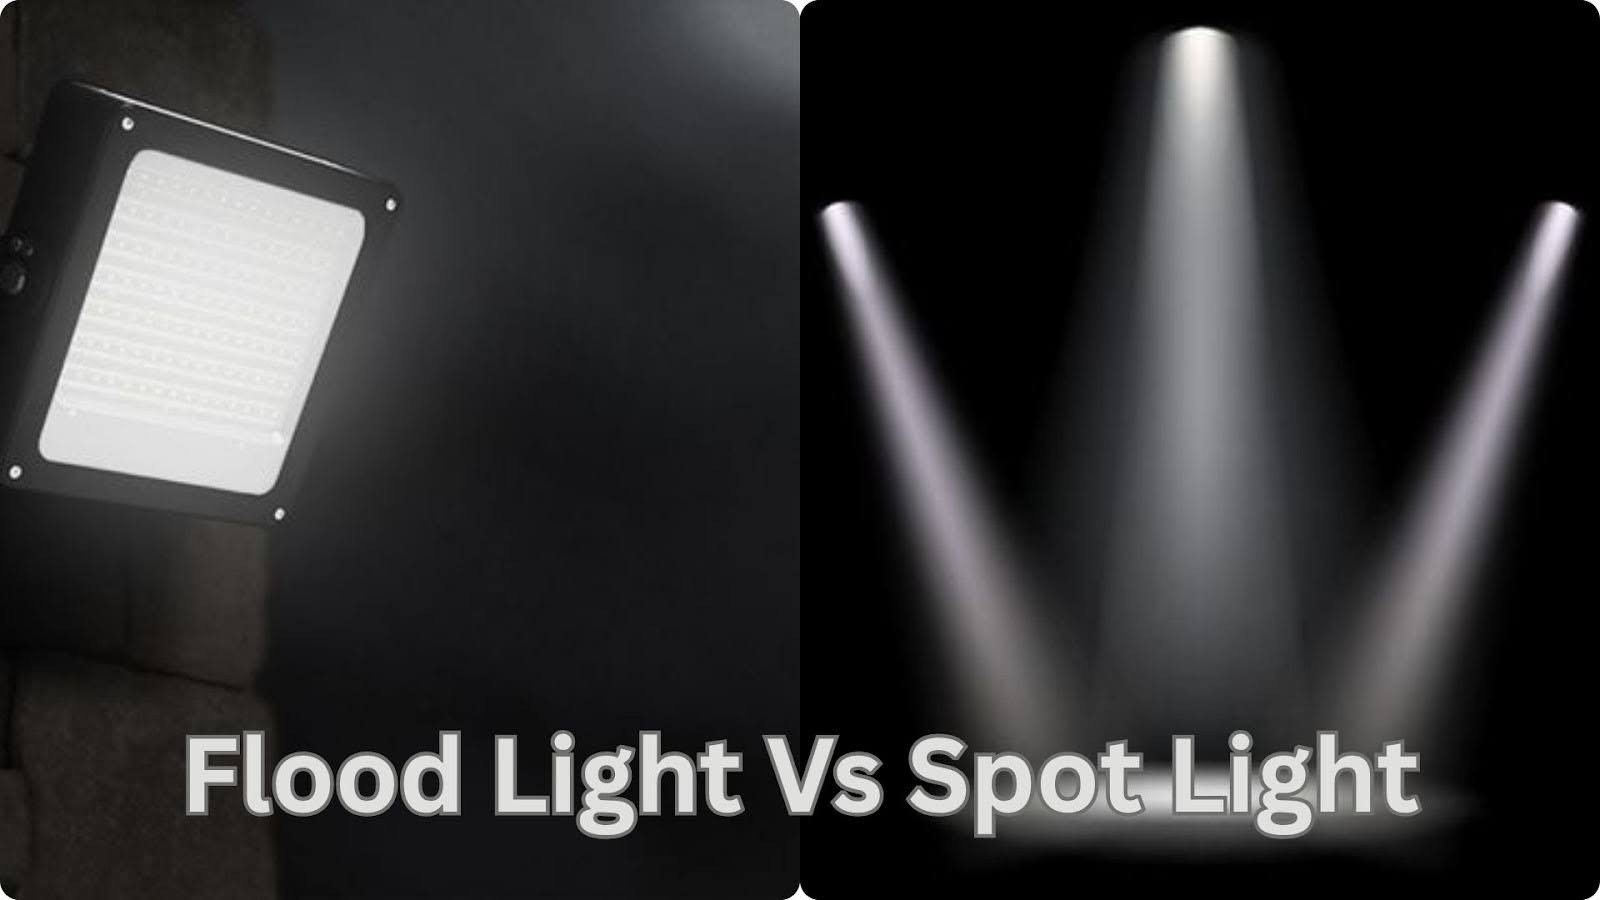
Best Front of House Lighting Positions for Uplighting
Let me show you the most important spots where uplighting makes the biggest difference at your home’s entrance.
Priority Placement Areas

Front entrance and doorway: Your front door is the first thing guests see, so it deserves the best lighting. Place uplights on both sides of the door, about 2-3 feet away. This creates a warm welcome and helps visitors find their way safely to your entrance.
Design features columns and features: Columns, pillars, and interesting wall details look great when lit from below. Position your uplights 6-12 inches from the base of these features. The light will travel up the surface and show off the texture and design.
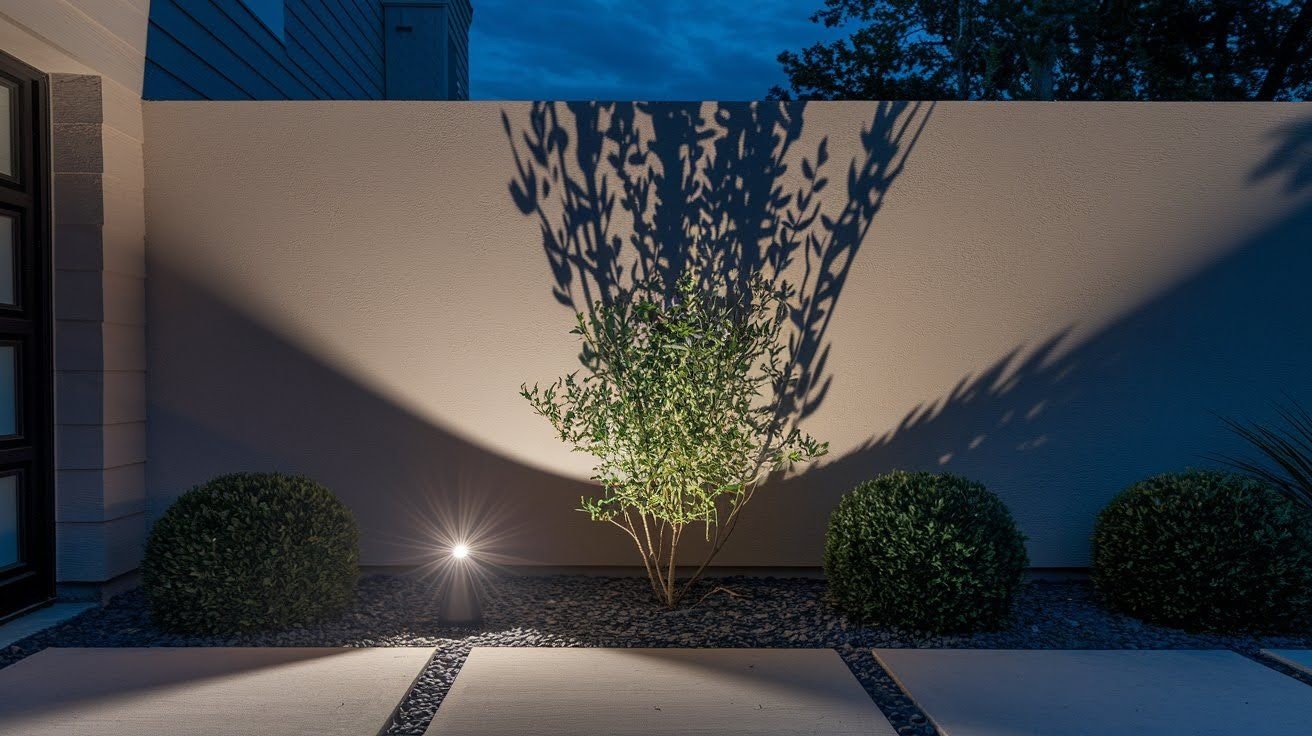
Key landscape elements (trees, focal point plants): Big trees and special plants in your front yard can become nighttime stars. Put uplights at the base of tree trunks, about 1-2 feet away. For bushes and plants, place lights 1-3 feet back, depending on their size.
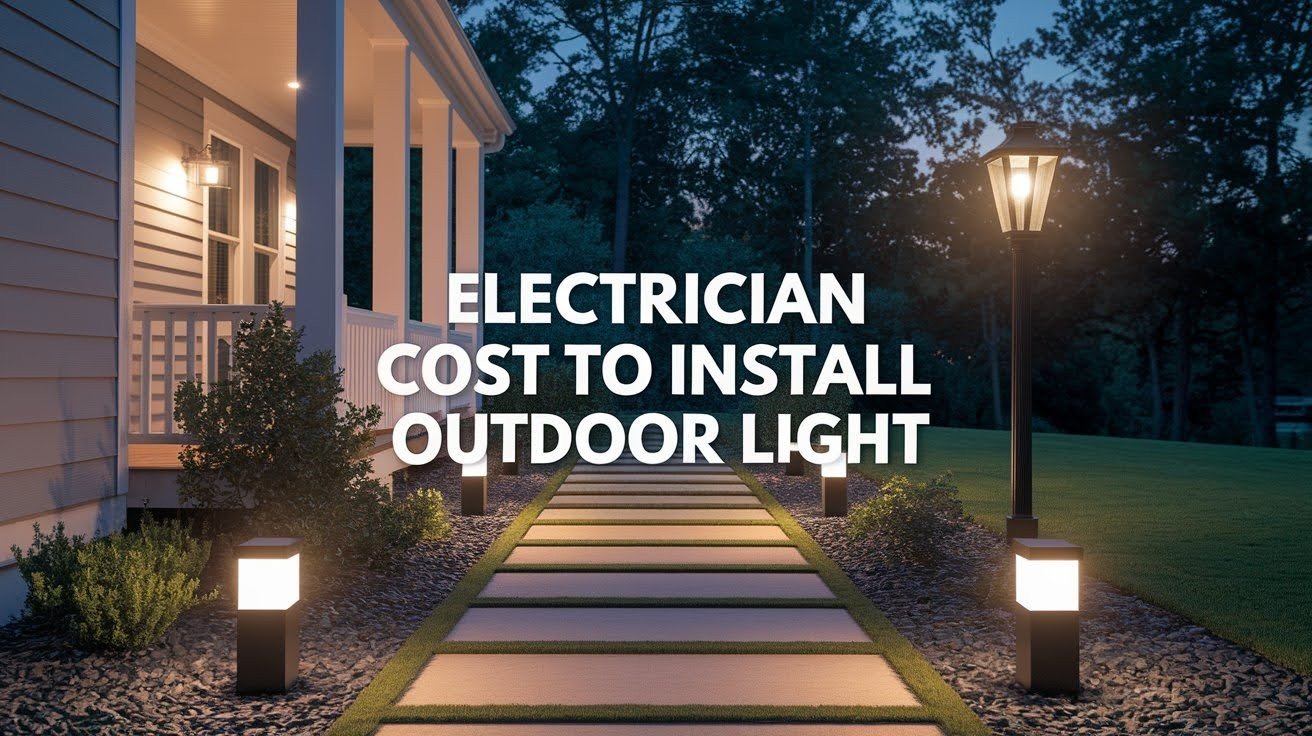
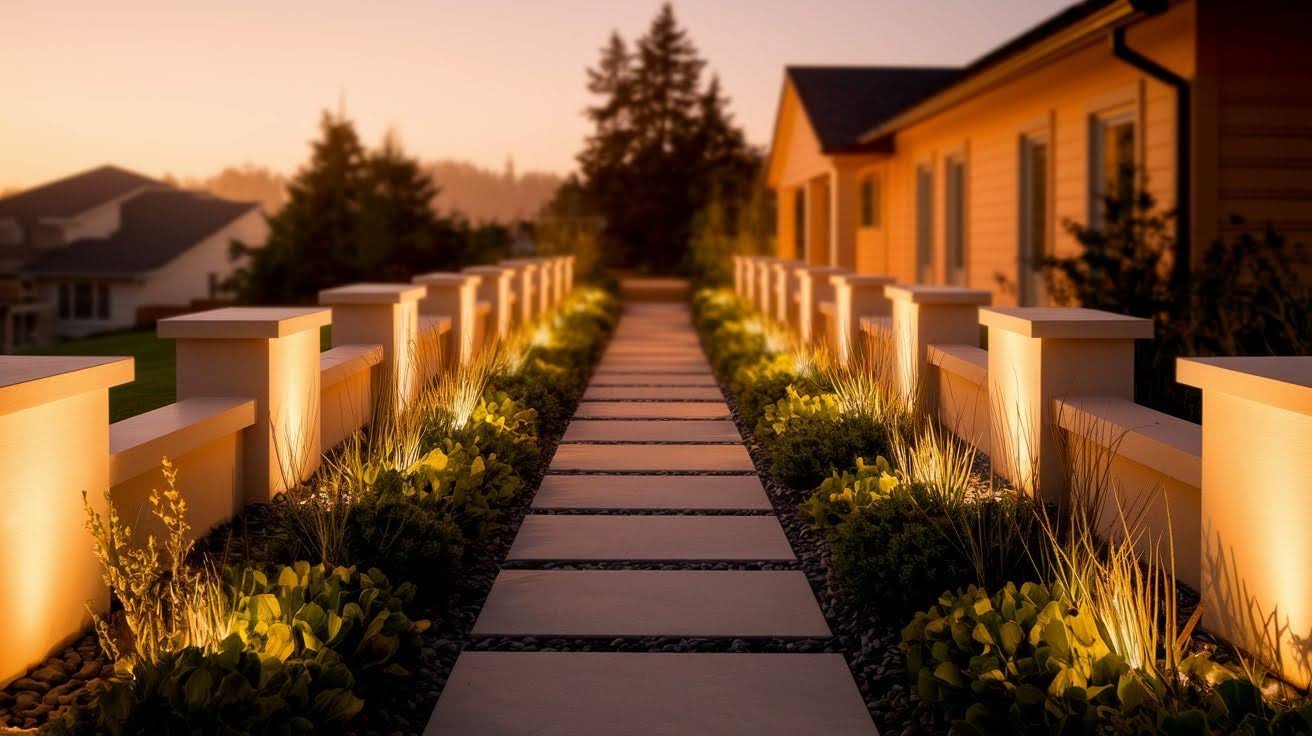
Pathways and walkways: Safe paths need consistent lighting every 6-8 feet along both sides. Use downward-facing path lights rather than uplights here. This keeps light at ground level where people need to see their steps clearly.
Exterior walls with texture: Brick, stone, or textured walls look amazing when lit properly. Place uplights 12 inches from the wall base and angle them slightly. This technique is called grazing, and it brings out every bit of detail in the surface.
Quick Placement Guidelines
Distance from features: Most uplights work best when placed 1-3 feet from what you’re lighting. Smaller items like columns need closer placement (6-12 inches), while tall trees can handle 2-3 feet of distance. This spacing prevents harsh shadows and creates a natural glow.
Angle considerations: Point your uplights at a 30-45 degree angle toward the feature. Straight-up lighting can look flat and boring. A slight angle adds depth and shows off shapes better, especially on walls and trees.
Spacing recommendations: Keep uplights 6-10 feet apart for even coverage along walls or paths. If you space them too close, you’ll waste energy and create bright spots. Too far apart leaves dark gaps that break up the visual flow.
Three Essential Rules for Effective Front of House Lighting
These three simple rules will help you create a professional-looking outdoor lighting setup that works every time.
Rule 1: Cohesion
Illuminate background, intermediate areas, and borders: Think of your front yard in layers – the house wall is the background, plants and features are the middle, and the yard edge is the border. Light all three layers to create a complete look that feels balanced.
Avoid large unlit gaps: Dark spaces between lit areas make your home look unfinished. Fill in these gaps with additional uplights or pathway lights. Your eye should move smoothly from one lit area to the next without jumping over black holes.
Create visual flow: Start at your front door and work outward, placing lights that guide the eye naturally. Each lit element should connect to the next one, forming a path that makes sense. This tells a story with light instead of random bright spots.
Rule 2: Depth
Layer lighting at different heights: Use uplights on the ground, wall-mounted lights at mid-level, and high lights in trees if possible. This creates a three-dimensional effect that makes your home look bigger and more interesting than flat, single-level lighting.
Use varied wattages and spreads: Not every light needs to be the same brightness. Use brighter lights (20-30 watts) for main features like your door and columns. Softer lights (10-15 watts) work better for background plants and subtle accents.
Create three-dimensional effects: By mixing bright and dim lights at different heights, you add drama and visual interest. The contrast between light and shadow gives your home character and makes design features and details pop out at night.
Rule 3: Focal Points
Identify unique design features: What makes your home special? Maybe it’s a beautiful archway, interesting roofline, or decorative trim. These features deserve the brightest, most carefully placed uplights to show them off properly.
Highlight functional elements (entrance, seating): Light the areas people actually use. Your front entrance needs good lighting for safety and welcome. If you have outdoor seating near the front, add soft lighting there too for comfort and usability.
Determine what deserves emphasis: You can’t light everything equally, or nothing will stand out. Choose 3-5 main features to highlight with your best uplighting front-of-house lighting positions. Everything else gets gentler, supporting light that fills in the gaps.
Uplighting and Moonlighting Positions
Combining these two lighting styles creates the most natural and appealing outdoor lighting for your home’s front area.
Uplighting Placement Strategies
Installing at the base of trees: Place the uplight 12-24 inches from the trunk, pointing up at a slight angle. This creates a dramatic effect where light travels up through the branches. For wider trees, use two or three uplights spaced around the base.
Positioning under design features elements: Uplights work great under eaves, overhangs, and roof edges. Mount them 2-3 feet out from the wall, angled back toward the house. This washes light up the wall and highlights the roofline above.
Accentuating columns and walls: For round columns, place one uplight at the base, centered. For square columns or walls, position the light 6-12 inches away and angle it at 30 degrees. This prevents harsh shadows while showing off the vertical lines.
Distance and angle specifications: The standard rule is to place uplights at a distance equal to one-third the height of what you’re lighting. So for a 12-foot wall, place lights 4 feet from the base. Angle them between 30-45 degrees for best results.
Moonlighting Setup
Minimum height requirements (25+ feet): Moonlighting only works when you have tall trees, at least 25 feet high. The lights need to be high enough to cast soft, natural-looking light down. Shorter installations look artificial and harsh instead of moonlike.
Tree canopy considerations: Install moonlights on branches that have good coverage below them. You want the light to filter through leaves and create patterns on the ground. Choose sturdy branches at least 4 inches thick that can support the fixture safely.
Creating dappled shadow effects: The magic of moonlighting comes from leaves breaking up the light beam. This creates moving shadows when the wind blows, just like real moonlight. Position multiple lights at different heights for the most realistic effect.
Recommended fixtures (CAST Classic Tree Light): Professional installers prefer fixtures made for trees, like the CAST Classic Tree Light. These have weatherproof housings and gentle beams that won’t harm tree bark.
Advanced Uplighting Techniques for Exterior Walls
Master these three wall lighting techniques to make your home’s exterior look professionally designed and fully finished.
Silhouetting
Light positioning between object and wall: Place your uplight on the ground between a plant or statue and your house wall. The light shines past the object and hits the wall behind it. This creates a dramatic outline or shadow of the object on the wall.
Best wall types (plain, untextured): Silhouetting looks best on smooth walls without much texture. White or light-colored walls show the shadow effect most clearly. Rough or dark walls don’t display the silhouette as well and may need different techniques.
Creating backdrop effects: Use this technique for interesting plants, garden art, or design features, details. The object becomes a dark shape against a lit background. It’s dramatic and eye-catching, perfect for making a bold statement at your home’s entrance.
Shadowing
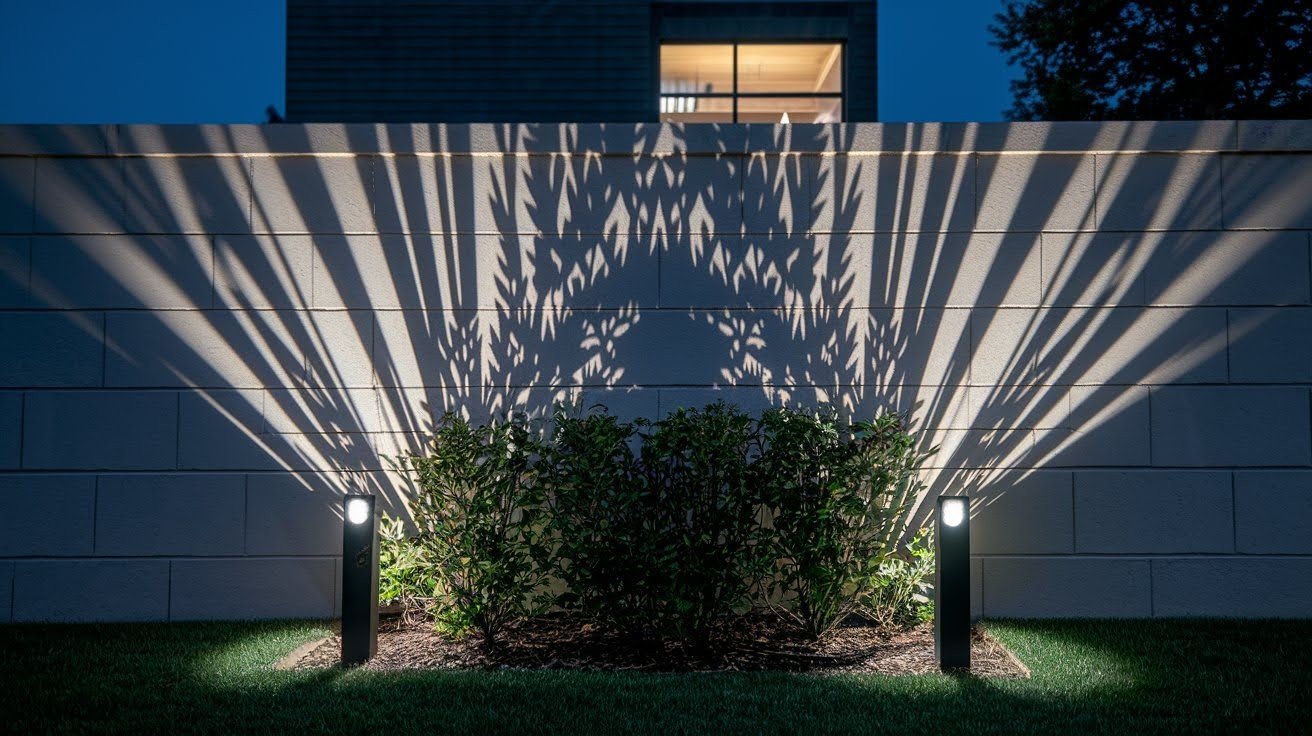
Illuminating objects to cast patterns: This is the opposite of silhouetting. Place the uplight in front of the object, pointing toward both the object and the wall. The light hits the object first, then continues to the wall, casting a shadow pattern behind it.
Applications for shrubbery and low features: Shadowing works great for bushes, small trees, and decorative items. The technique adds visual interest to walls that might otherwise look plain. It’s especially nice with plants that have interesting leaf shapes or branch patterns.
Using shadows for untextured walls: When your wall is flat and boring, shadows add texture and depth. Plant shadows that move in the breeze create a living, changing display. This technique turns a plain surface into something dynamic and interesting.
Grazing
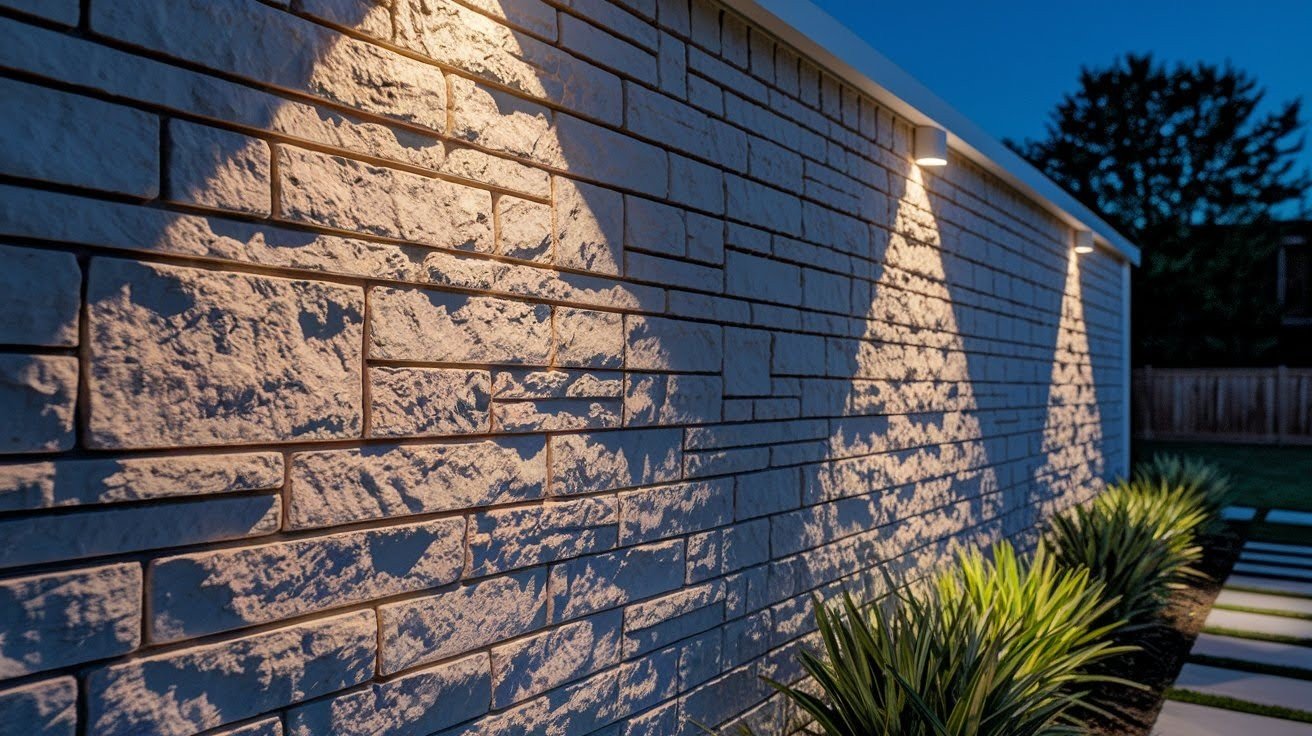
Positioning lights 1 foot from the wall: Grazing requires close placement – just 12 inches from your wall’s base. The light beam travels almost parallel to the wall surface, skimming across it. This close position is crucial for the technique to work correctly.
Angle adjustments: Point the light at a 15-30 degree angle from the wall surface, not straight up. This shallow angle makes the light graze across any texture or pattern. Even small bumps and grooves will cast tiny shadows that show off the wall’s character.
Highlighting textured surfaces (river stone, brick): Grazing is perfect for rough materials like stone, brick, stucco, or wood siding. Every little texture detail becomes visible and interesting. This is one of the best uplighting front-of-house lighting positions for homes with textured exteriors.
Reducing hot spots: Hot spots are overly bright areas that hurt your eyes. In grazing, adjust the angle and brightness to prevent these. You want even light across the wall, not circles of brightness with dark areas between them.
Conclusion
Begin with the areas you use and see a lot: your front door, the main walls of your home, and your walkways. Lighting these areas first makes your home look good. It also helps you see where you’re walking in the dark.
Add a tree, a patch of garden, or your favorite plant to the places you sit and look. Add those items too. Varied heights and light levels will enliven the yard. They will fill it with a soft light at night.
Walk around your dark home if unsure where to start, and seek areas where shadows are too dark or light is too low. It can make a world of difference if you brighten them up now.
Frequently Asked Questions
What is the ideal distance for uplighting front-of-house lighting positions?
Most uplights should be placed 1-3 feet from the feature you’re lighting. Smaller elements like columns need closer placement at 6-12 inches, while tall trees can handle 2-3 feet. The rule of thumb is one-third the height of what you’re lighting.
How many uplights do I need for my front entrance?
A typical front entrance needs 4-8 uplights minimum. Place two flanking the door, two on major design features, and 2-4 for landscaping or pathway safety. Larger homes with more features will need 10-15 lights for complete coverage and professional results.
What wattage works best for front-of-house uplighting?
Use 10-15-watt LEDs for subtle accent lighting on plants and backgrounds. Main features like doors and columns need 20-30 watts. Trees and tall walls require 30-50 watts. Higher wattages work for bigger features, lower wattages for small details and background elements.
Can I install outdoor uplighting myself or hire professionals?
Simple plug-in uplighting is easy to install yourself with basic tools. However, hardwired low-voltage or line-voltage systems need electrical knowledge for safety. Professionals ensure proper transformer sizing, waterproof connections, and correct voltage.
How do I prevent uplights from creating glare at night?
Position lights so the bright bulb stays hidden from normal viewing angles. Use fixtures with built-in shields or hoods that direct light only where needed. Avoid aiming lights toward windows, seating areas, or streets. Adjust angles so light hits features, not eyes.
Priority Placement Areas